
It’s finally done. Actually, this was completed some time ago, it’s just taken a while to write up the post about it.
This was quite the long, drawn out project.
When I got the silicon bronze plates from Farmer’s Copper and checked the machining against the dimensions on the drawing, they had pushed all of the 1/2″ holes down approximately 1/2″. Not ideal, but I could work with that. It would simply mean that on the stern chain plate, the 60 degree bend would be pushed up and out a bit. Had the holes been UP 1/2″, then I could not have lined up the chain plate holes with the holes in the hull and drilling new ones were out of the question on the rear. I would have had to have them remake the stern chain plate for sure. I did not want to have that discussion.
I was going to have to drill out the holes on the bow anyway because I was going from 3/8″ bolts to 1/2″ bolts and I was also going to add additional fiberglass on the inside of the hull to reinforce that whole section. With all that being done, I could reposition the holes to make the chain plate fit properly on the bow.
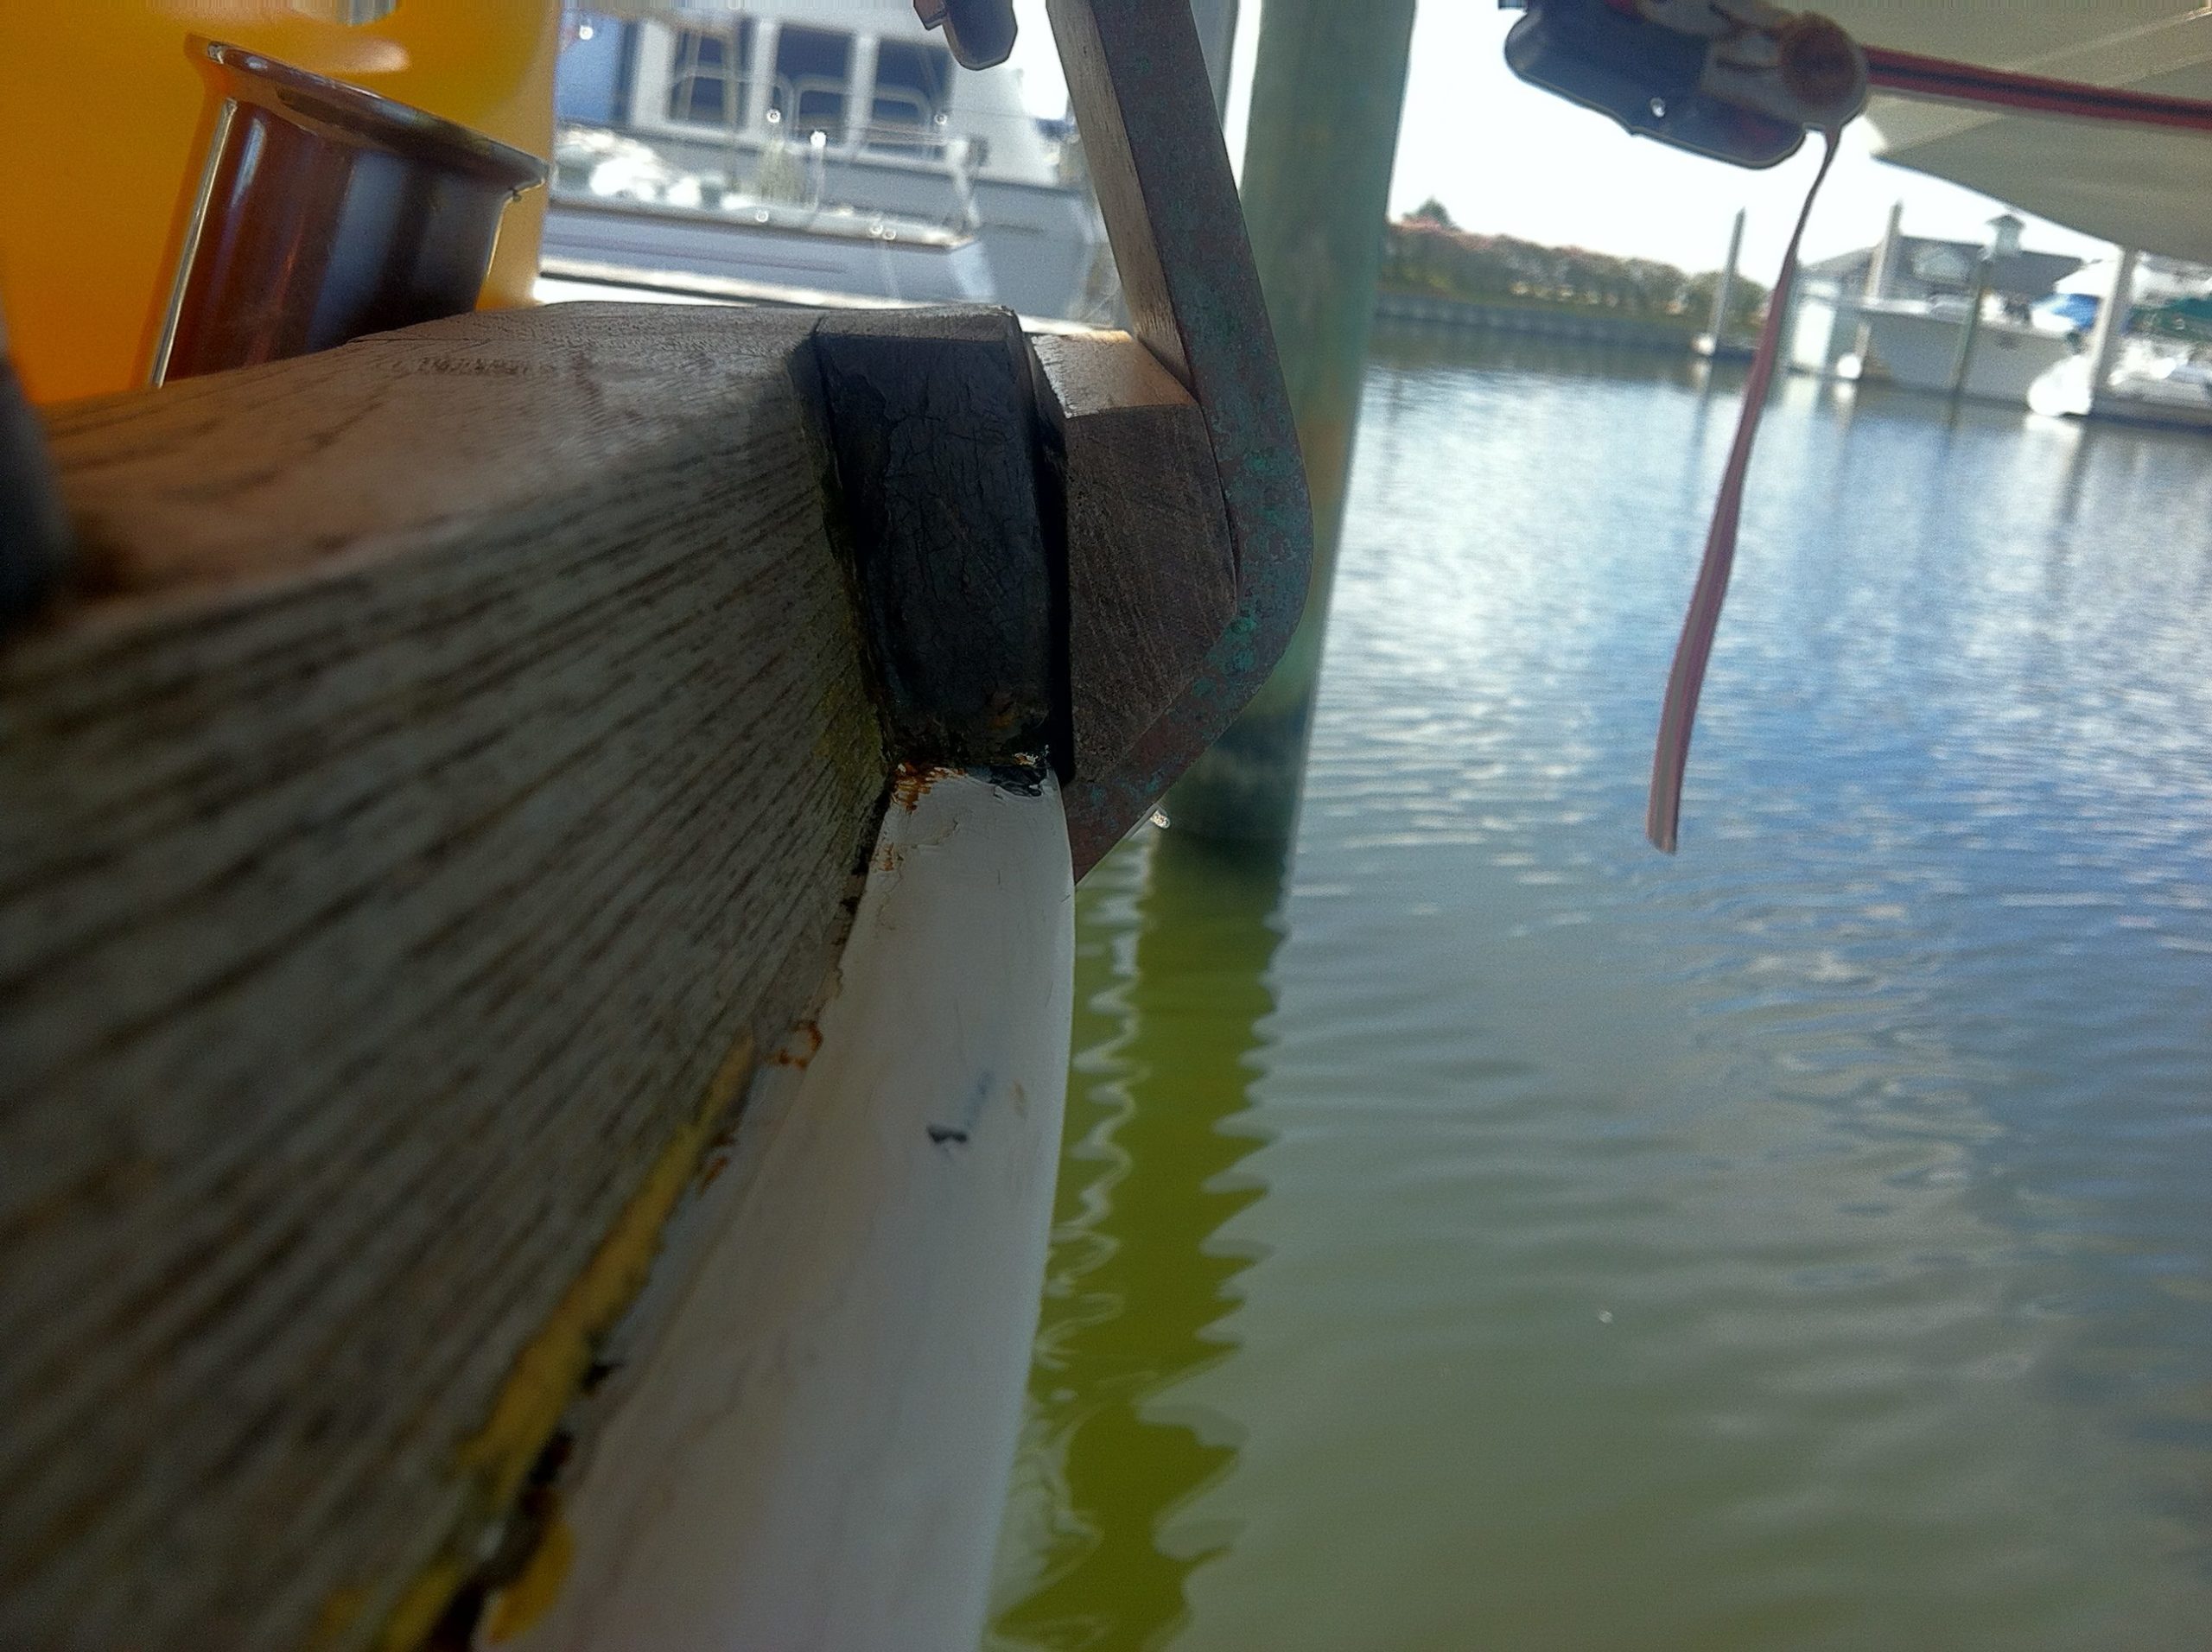
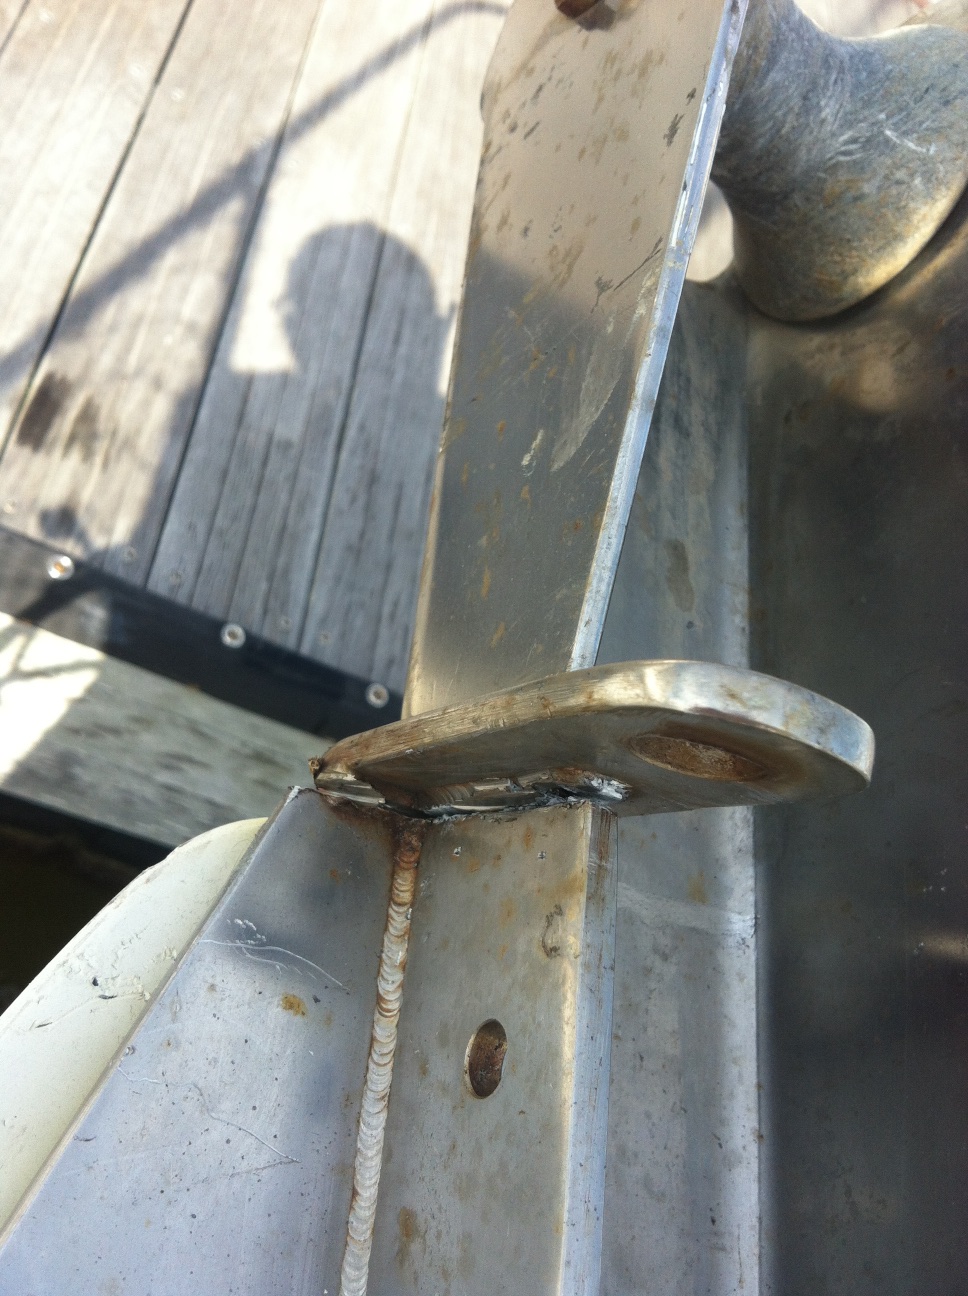
The stern chain plate was a simple remove and replace. Here’s the new bronze one installed on the stern showing how the bend is not quite where it should be.
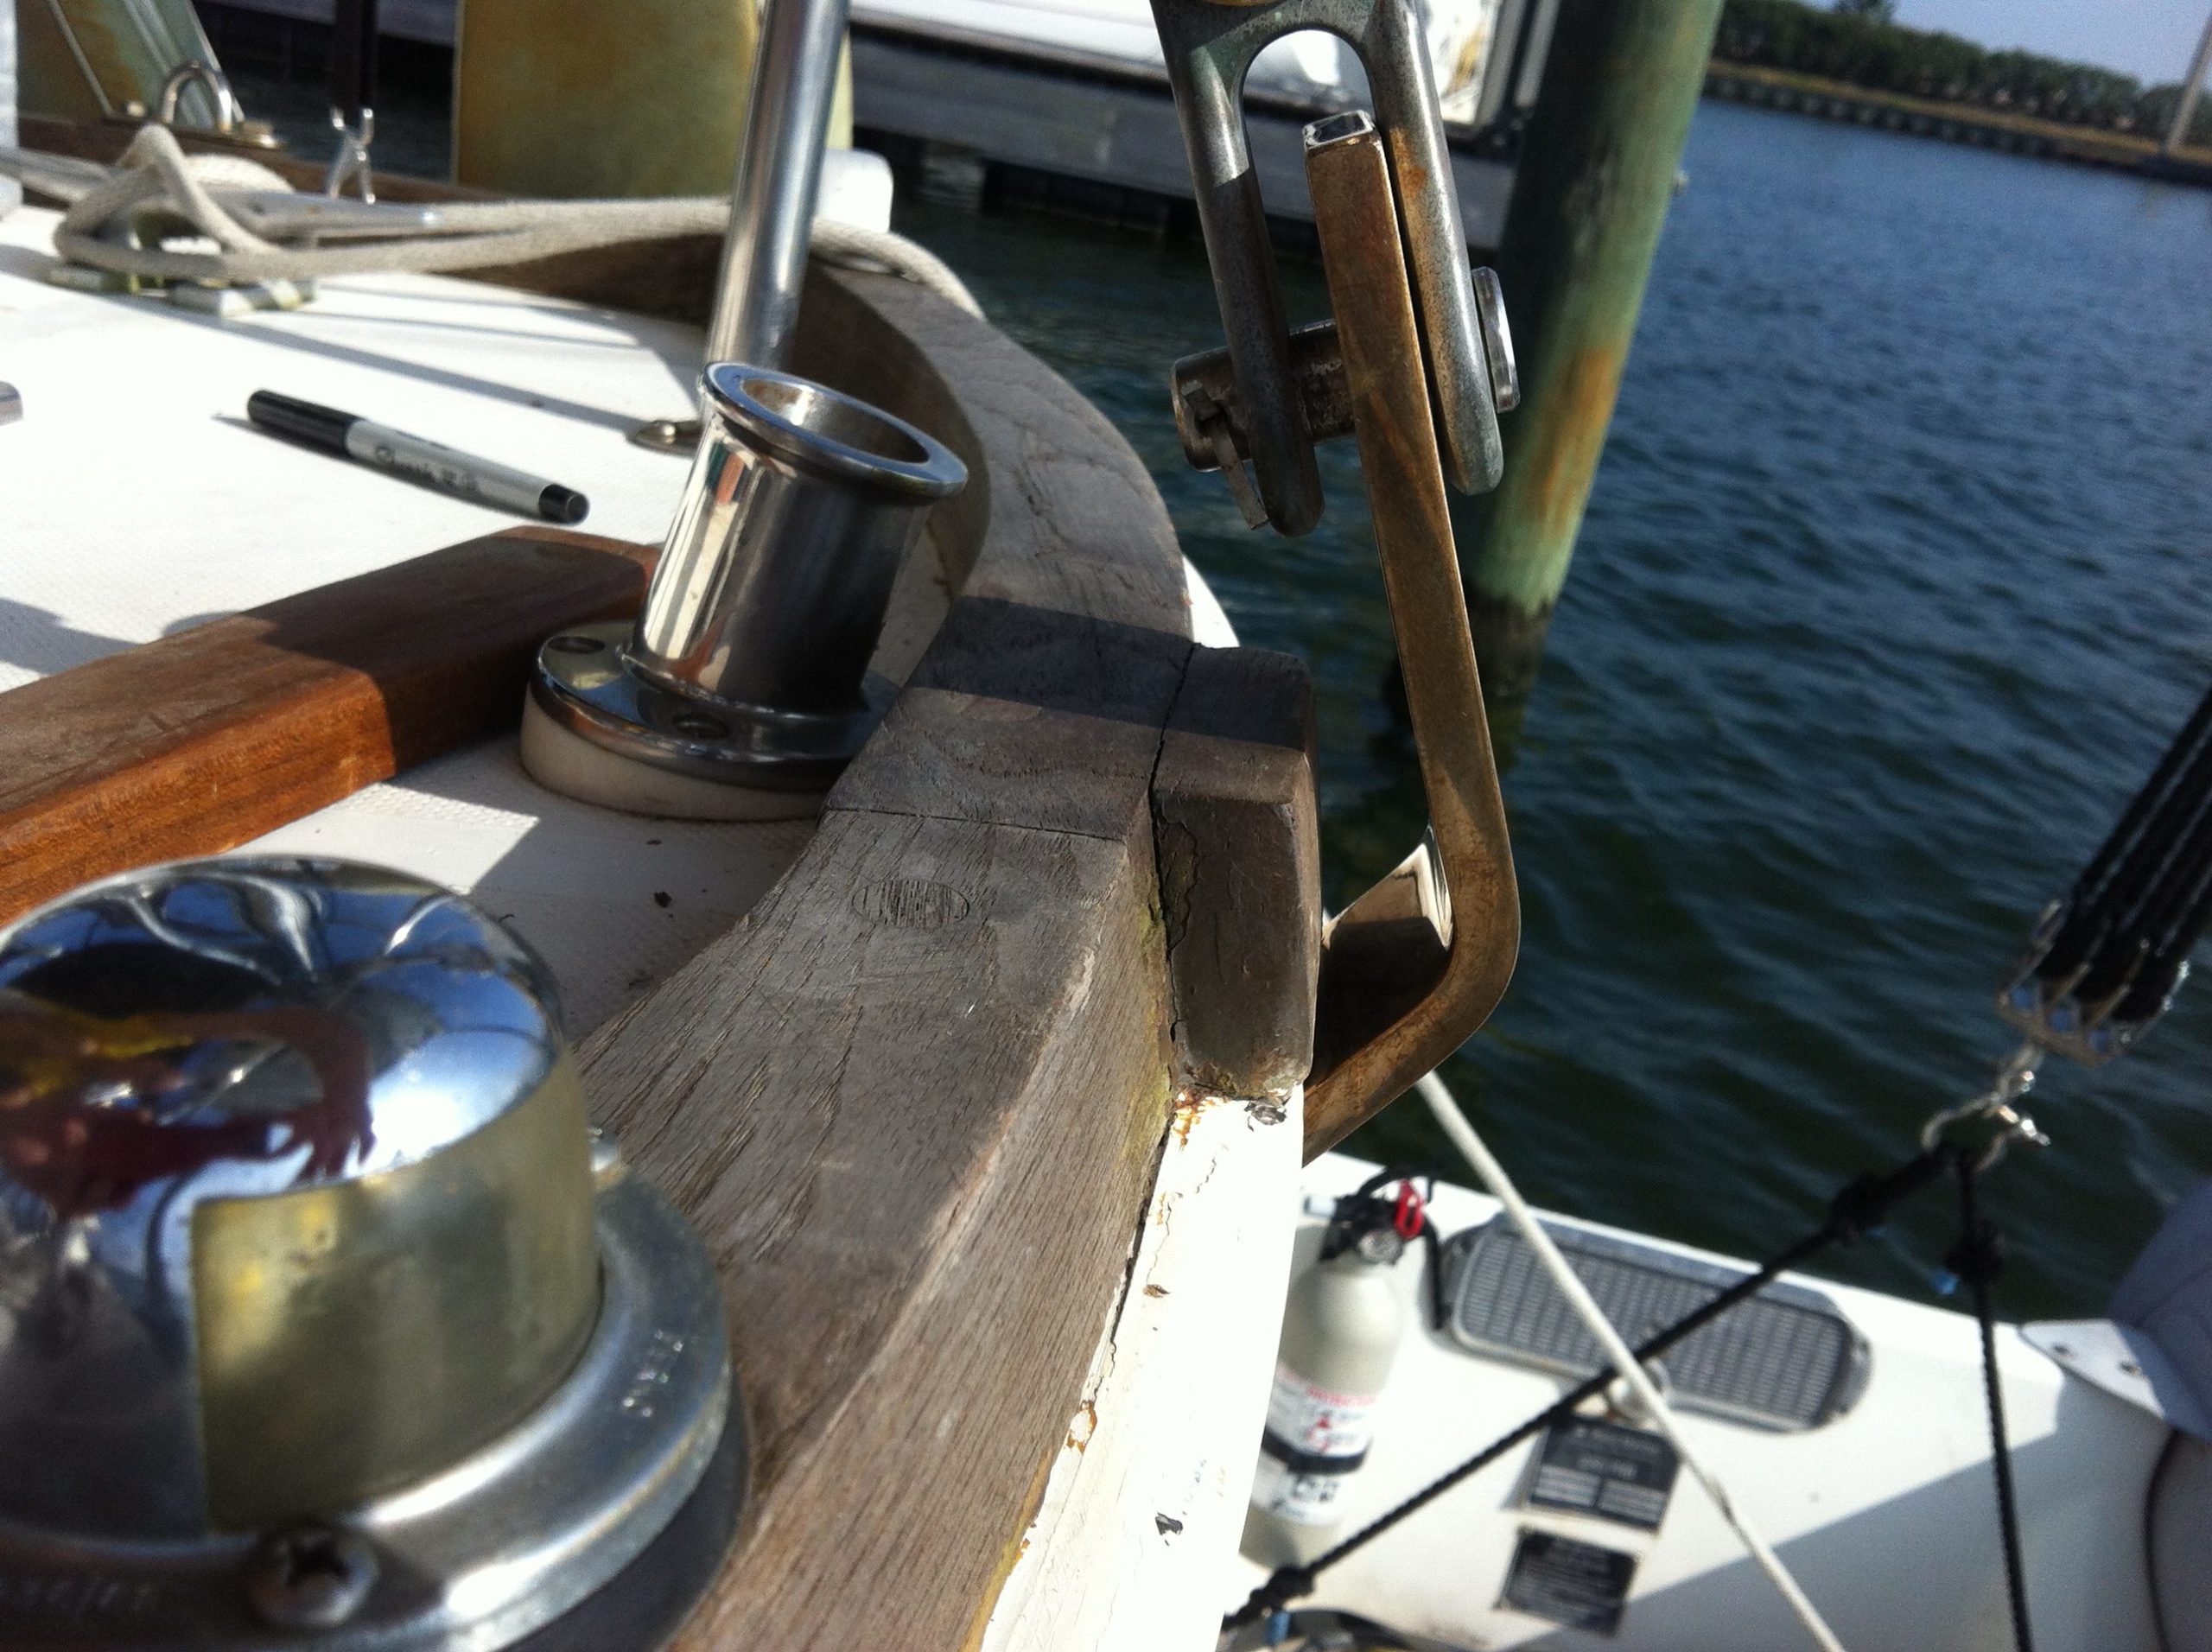
I took a piece of what I presume is mahogany that was laying around and whittled and sanded it down to make up the gap. Look at that nice green patina on the bronze. That’s way more comforting than “rust” on stainless.
*sigh*
Now onto the bow. This one, if you recall, is the one that started this whole mess.
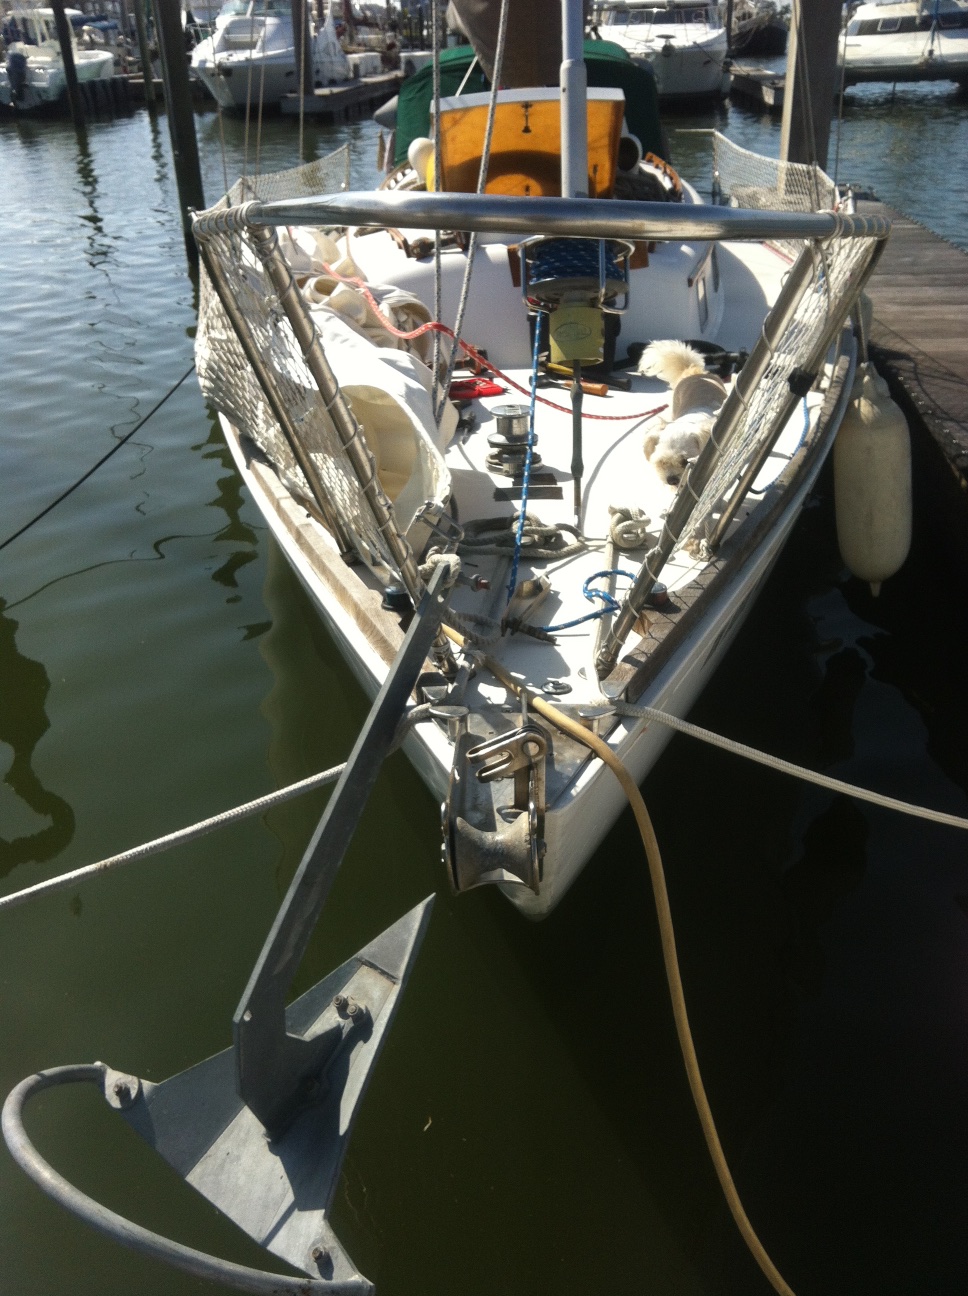
The first thing was to remove the forestay/roller furler. That meant dropping the ginormous head sail and then figuring out how to get the roller furler off.
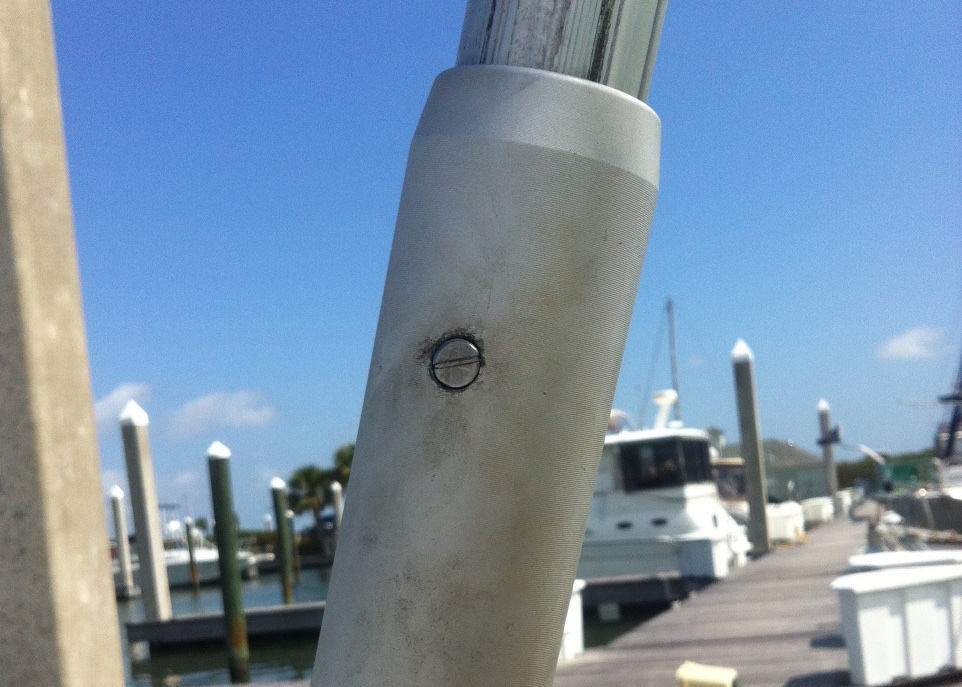
The head sail came off easy and we tucked and tied it along the lifeline netting. I had located and downloaded a manual for our roller furler and it appeared simple enough to remove. Loosen two set screws and the whole assembly should slide up allowing access to the forestay turnbuckle.
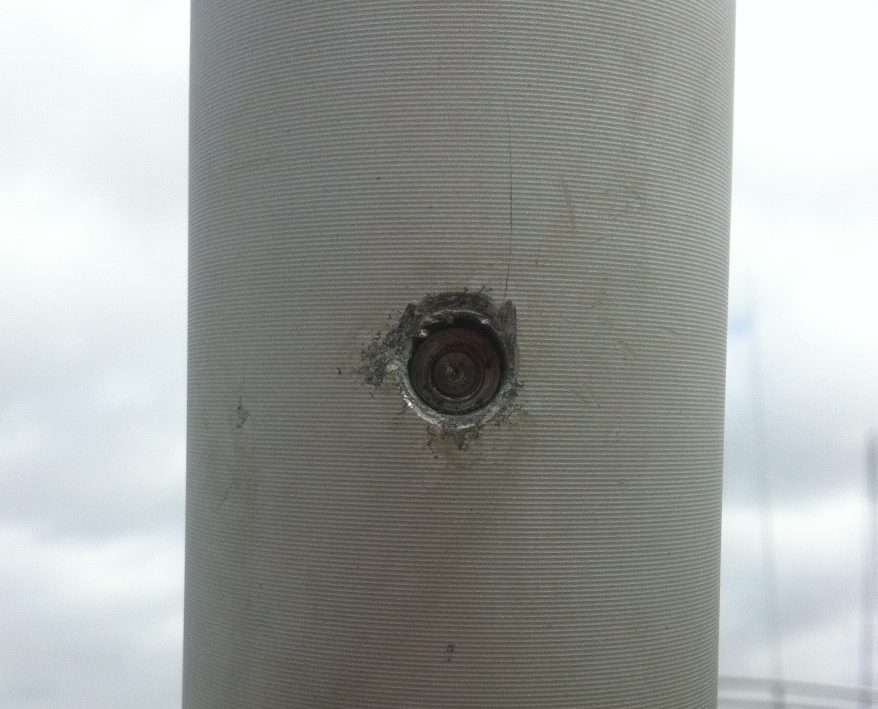
Notice that the set screw is completely rounded over. Well, that’s what happens when stainless is screwed into aluminum with no galvanic isolation. The two get corroded together and become terribly difficult to mechanically separate. The internal hex on this screw wasn’t up to the task.

This now meant having to drill out the two set screws. I did my best not to damage the threads. This required drilling slightly smaller than the minor diameter of the internal threads and then picking out the remaining stainless. It worked pretty well. I found that the thread was an M12x1.25, which is NOT a common size. I would worry about that later.
Here’s the forestay completely removed. Sandy of course has to inspect the work.
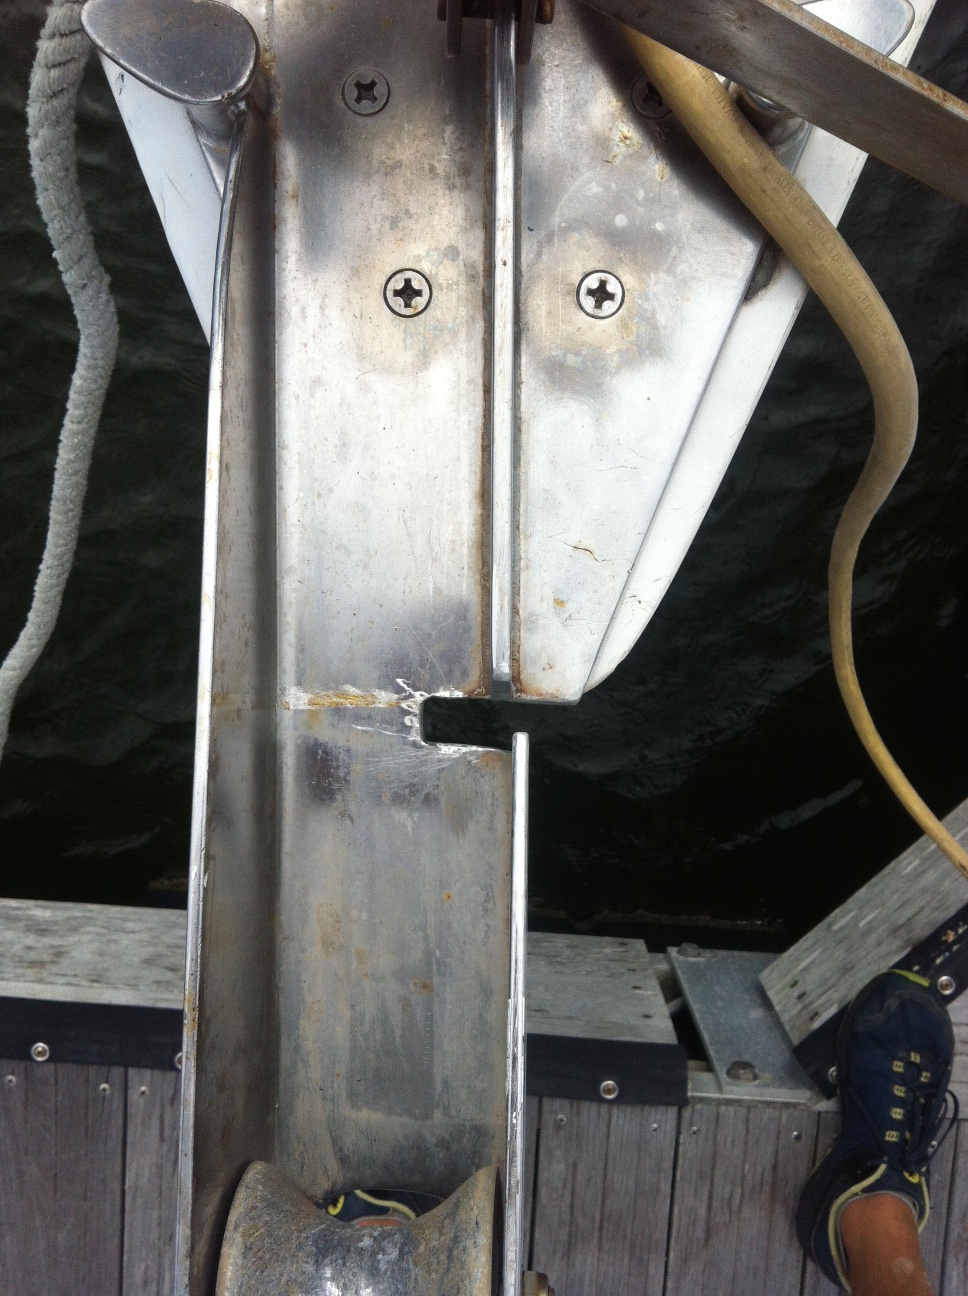
Now on to cutting out the “bad” chain plate. This was no easy task. I used a Dremel, an angle grinder with a diamond cutting wheel, a reciprocating saw, and a drill. Stainless is not an easy metal to cut. I went through 5 saw blades and 2 drill bits.

And finally it was out.
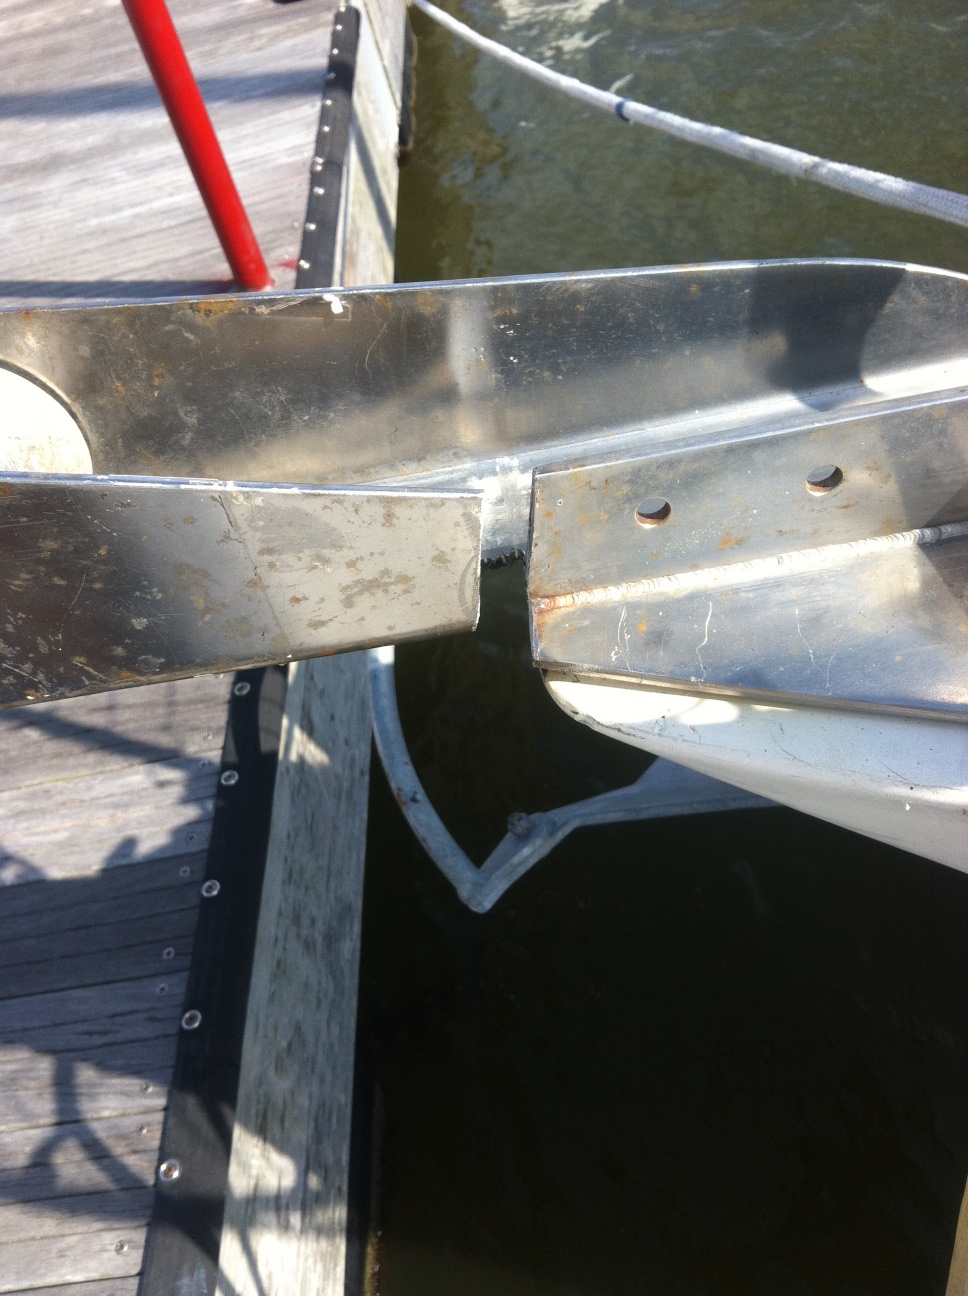
And after a little cleaning up with a hand file.
The next task was to fill in the old bolt holes with epoxy and reinforce the inside of the hull with additional fiberglass.
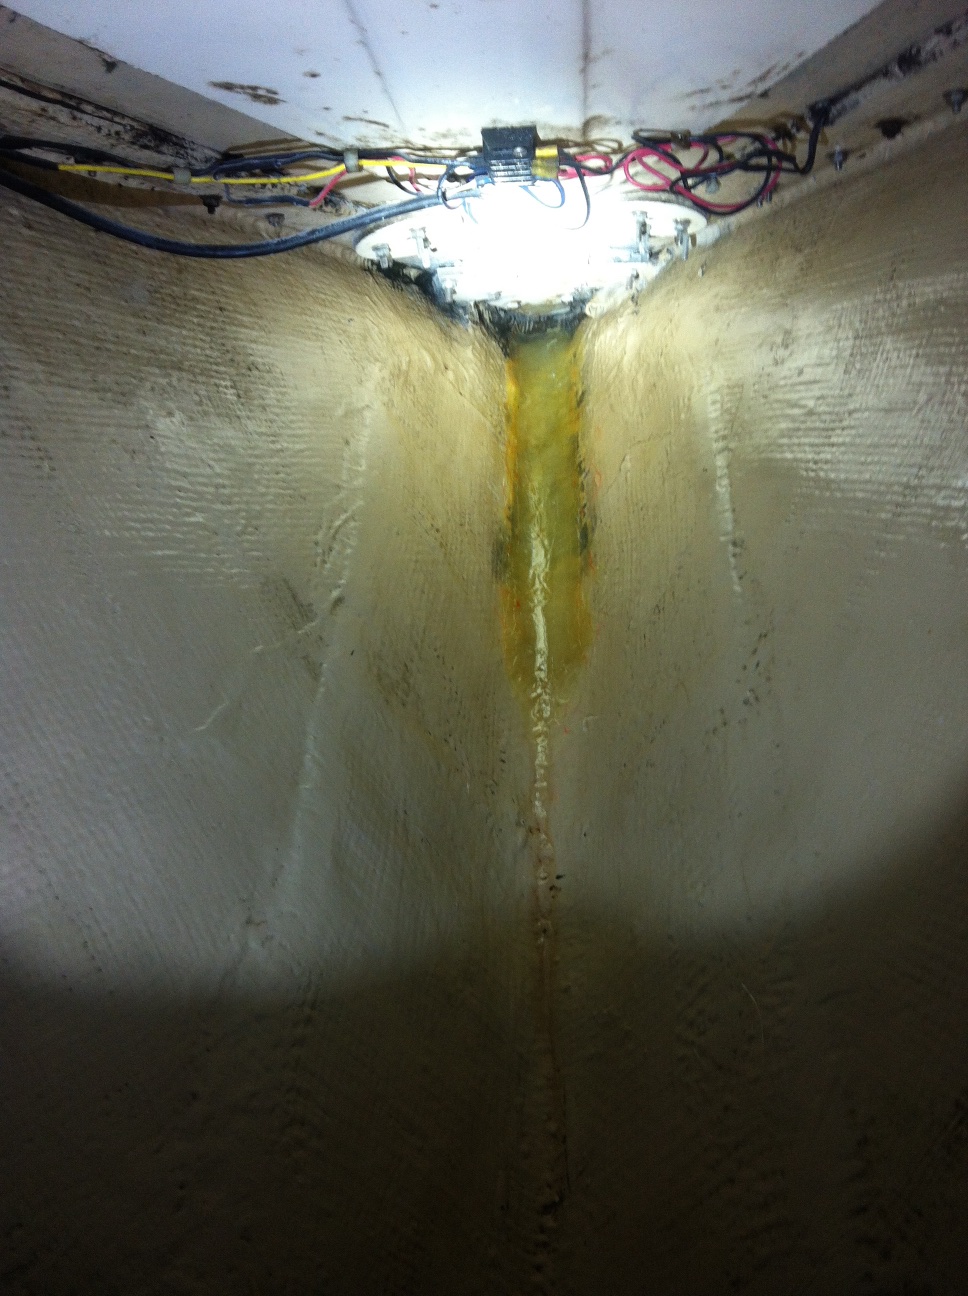
I crawled up in the chain locker and ground off the gel coat and got down to clean fiberglass. This is AFTER I cleaned up all the debris and dust. Grinding fiberglass is a horribly nasty job. 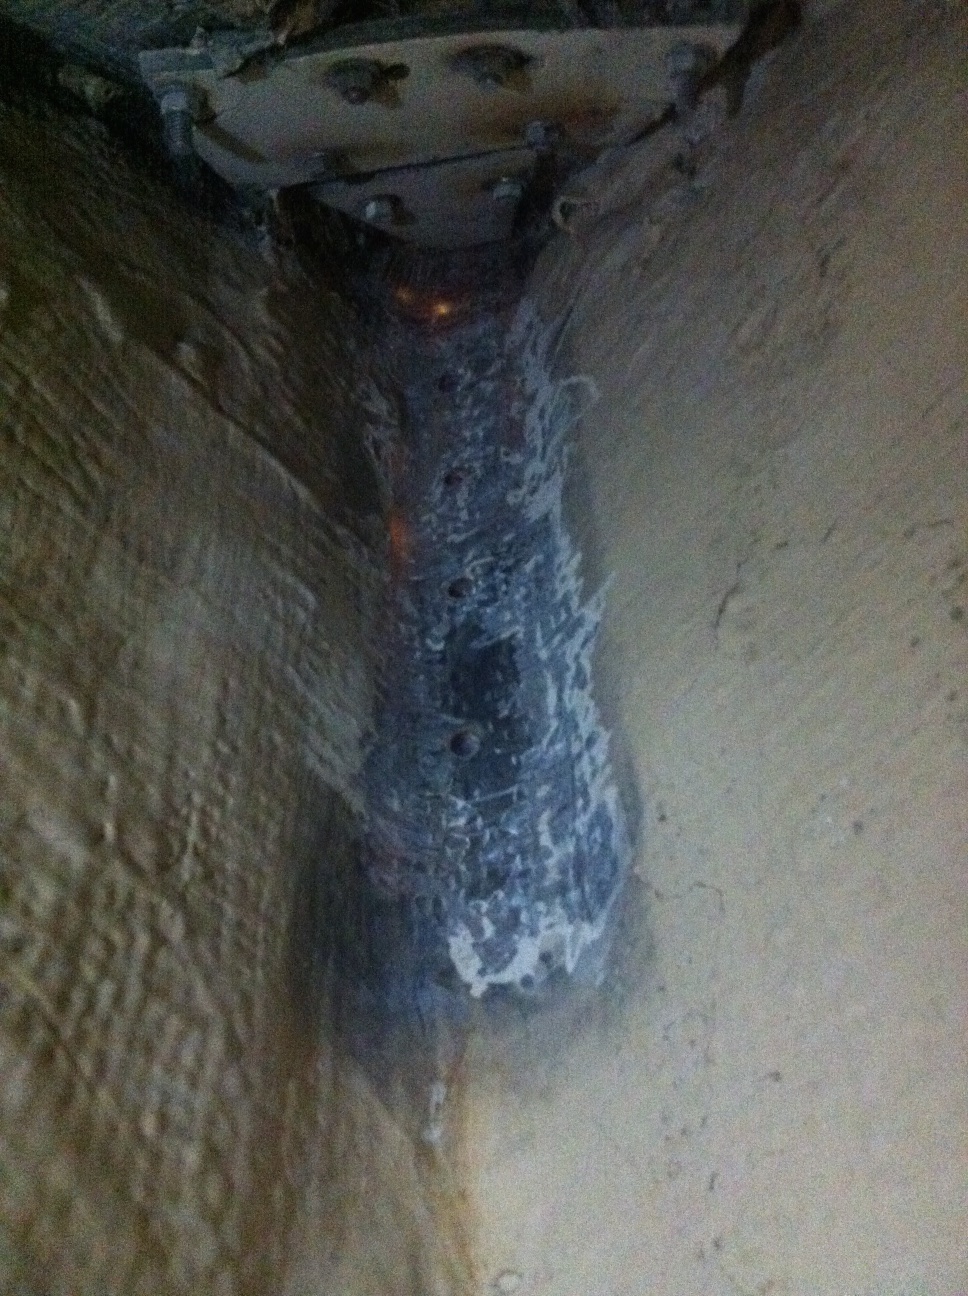
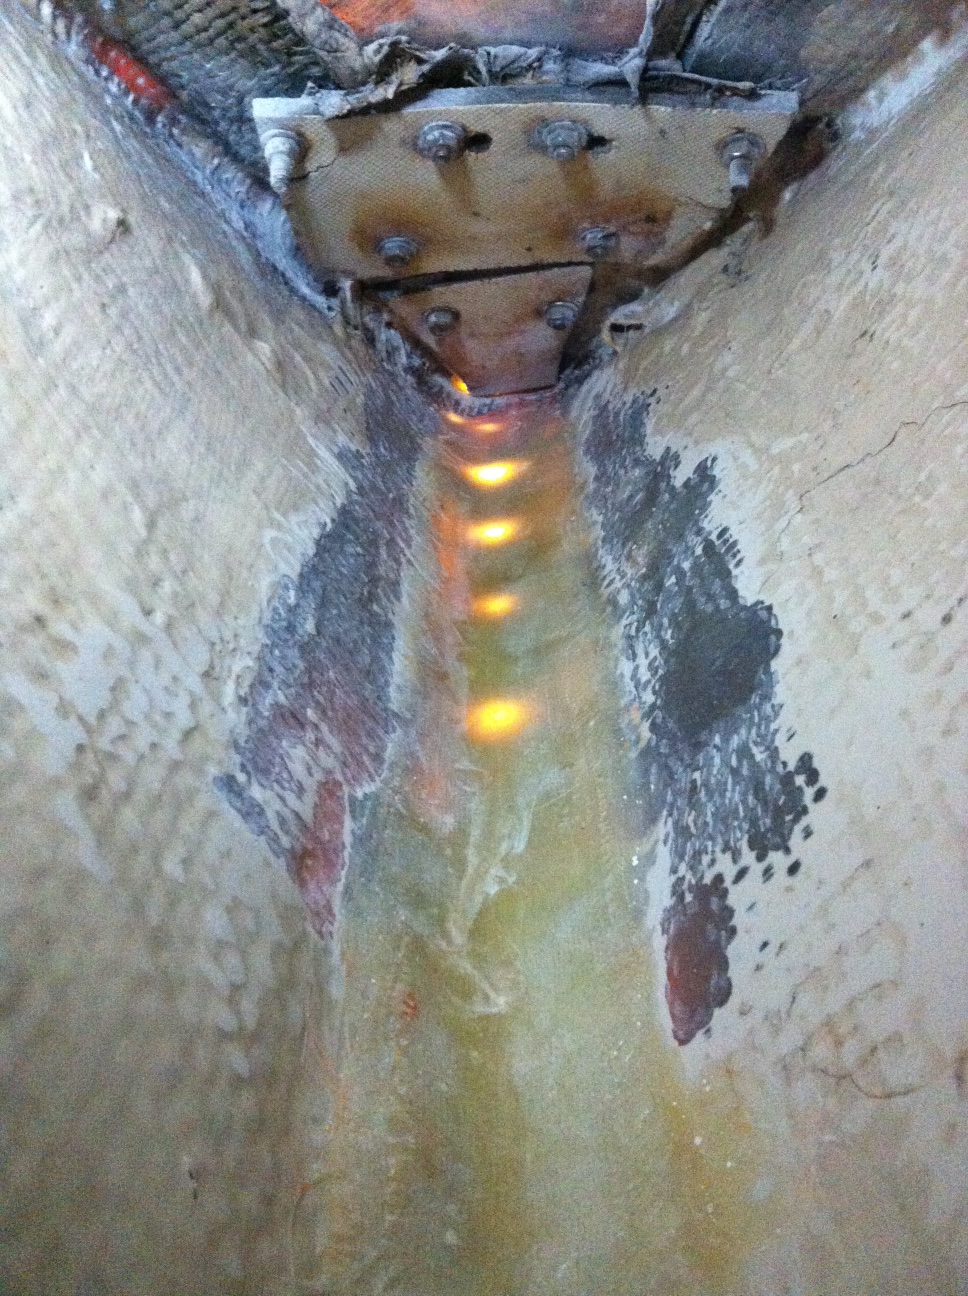
Here’s after I filled in the existing holes with some thickened epoxy and then put on about 5 layers of medium weight fiberglass. You can see that Bristol had added additional glass at the bow as its thickness shows through the gelcoat. I was simply adding more right where I needed to bolt the chain plate.
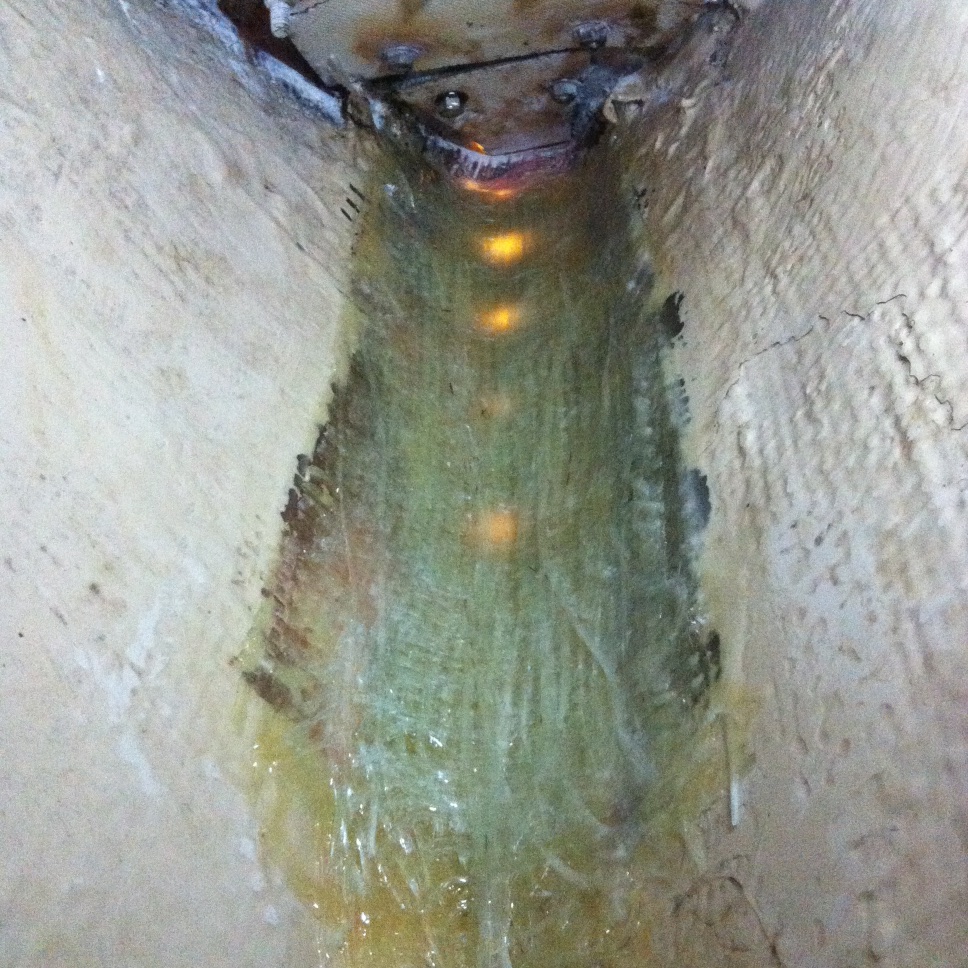
I then ground off more gelcoat and fiberglass a little further out for additional glass.
Another 6 or so layers of heavy weight fiberglass roving was adding.
The bow showing the existing holes that were filled in.
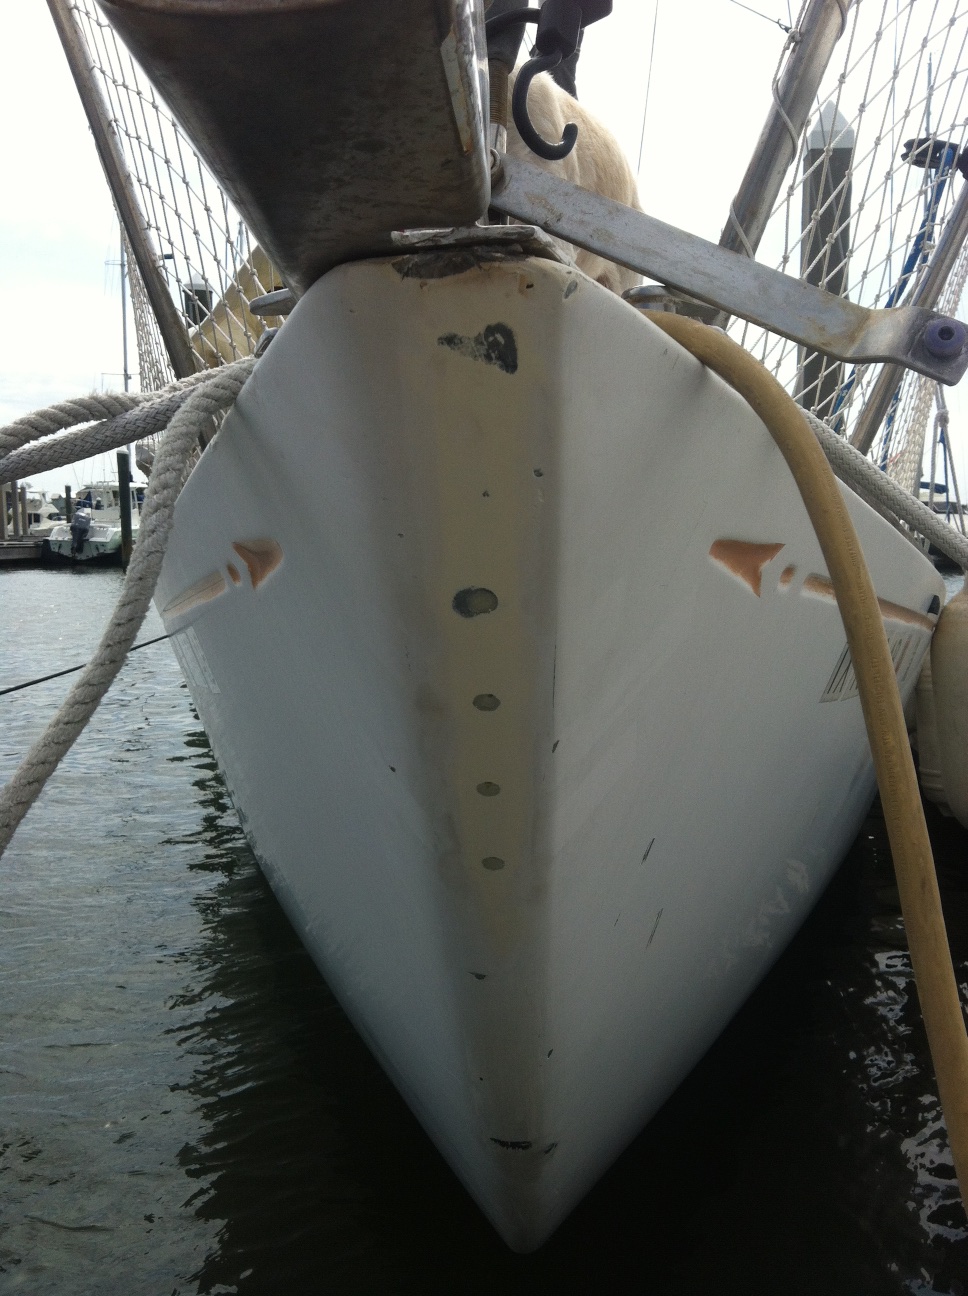
I mixed up a small batch of gelcoat to cover the eroded spots that would be under the chain plate and let that cure. When that was done, I taped the chain plate in the correct position and then drilled the holes through the hull. Butyl tape was used to bed and seal the holes on the top and bottom sides of the chain plate.
Butyl tape, butyl tape, butyl tape. In my opinion, it’s the ONLY way to bed hardware on a sailboat. It might seem like it takes longer than caulk/sealant/adhesive, but it’s actually faster because you have no clean up to worry about. And it truly lasts just about forever. The butyl tape that was used by Bristol to bed the hull to deck joint is still as tacky as when it was new. Butyl tape also self heals. That means that if the hardware is stressed and stretched, the butyl tape elongates and stretches and then re-adheres to itself to maintain the seal. That cannot be said of any silicone or urethane sealants.
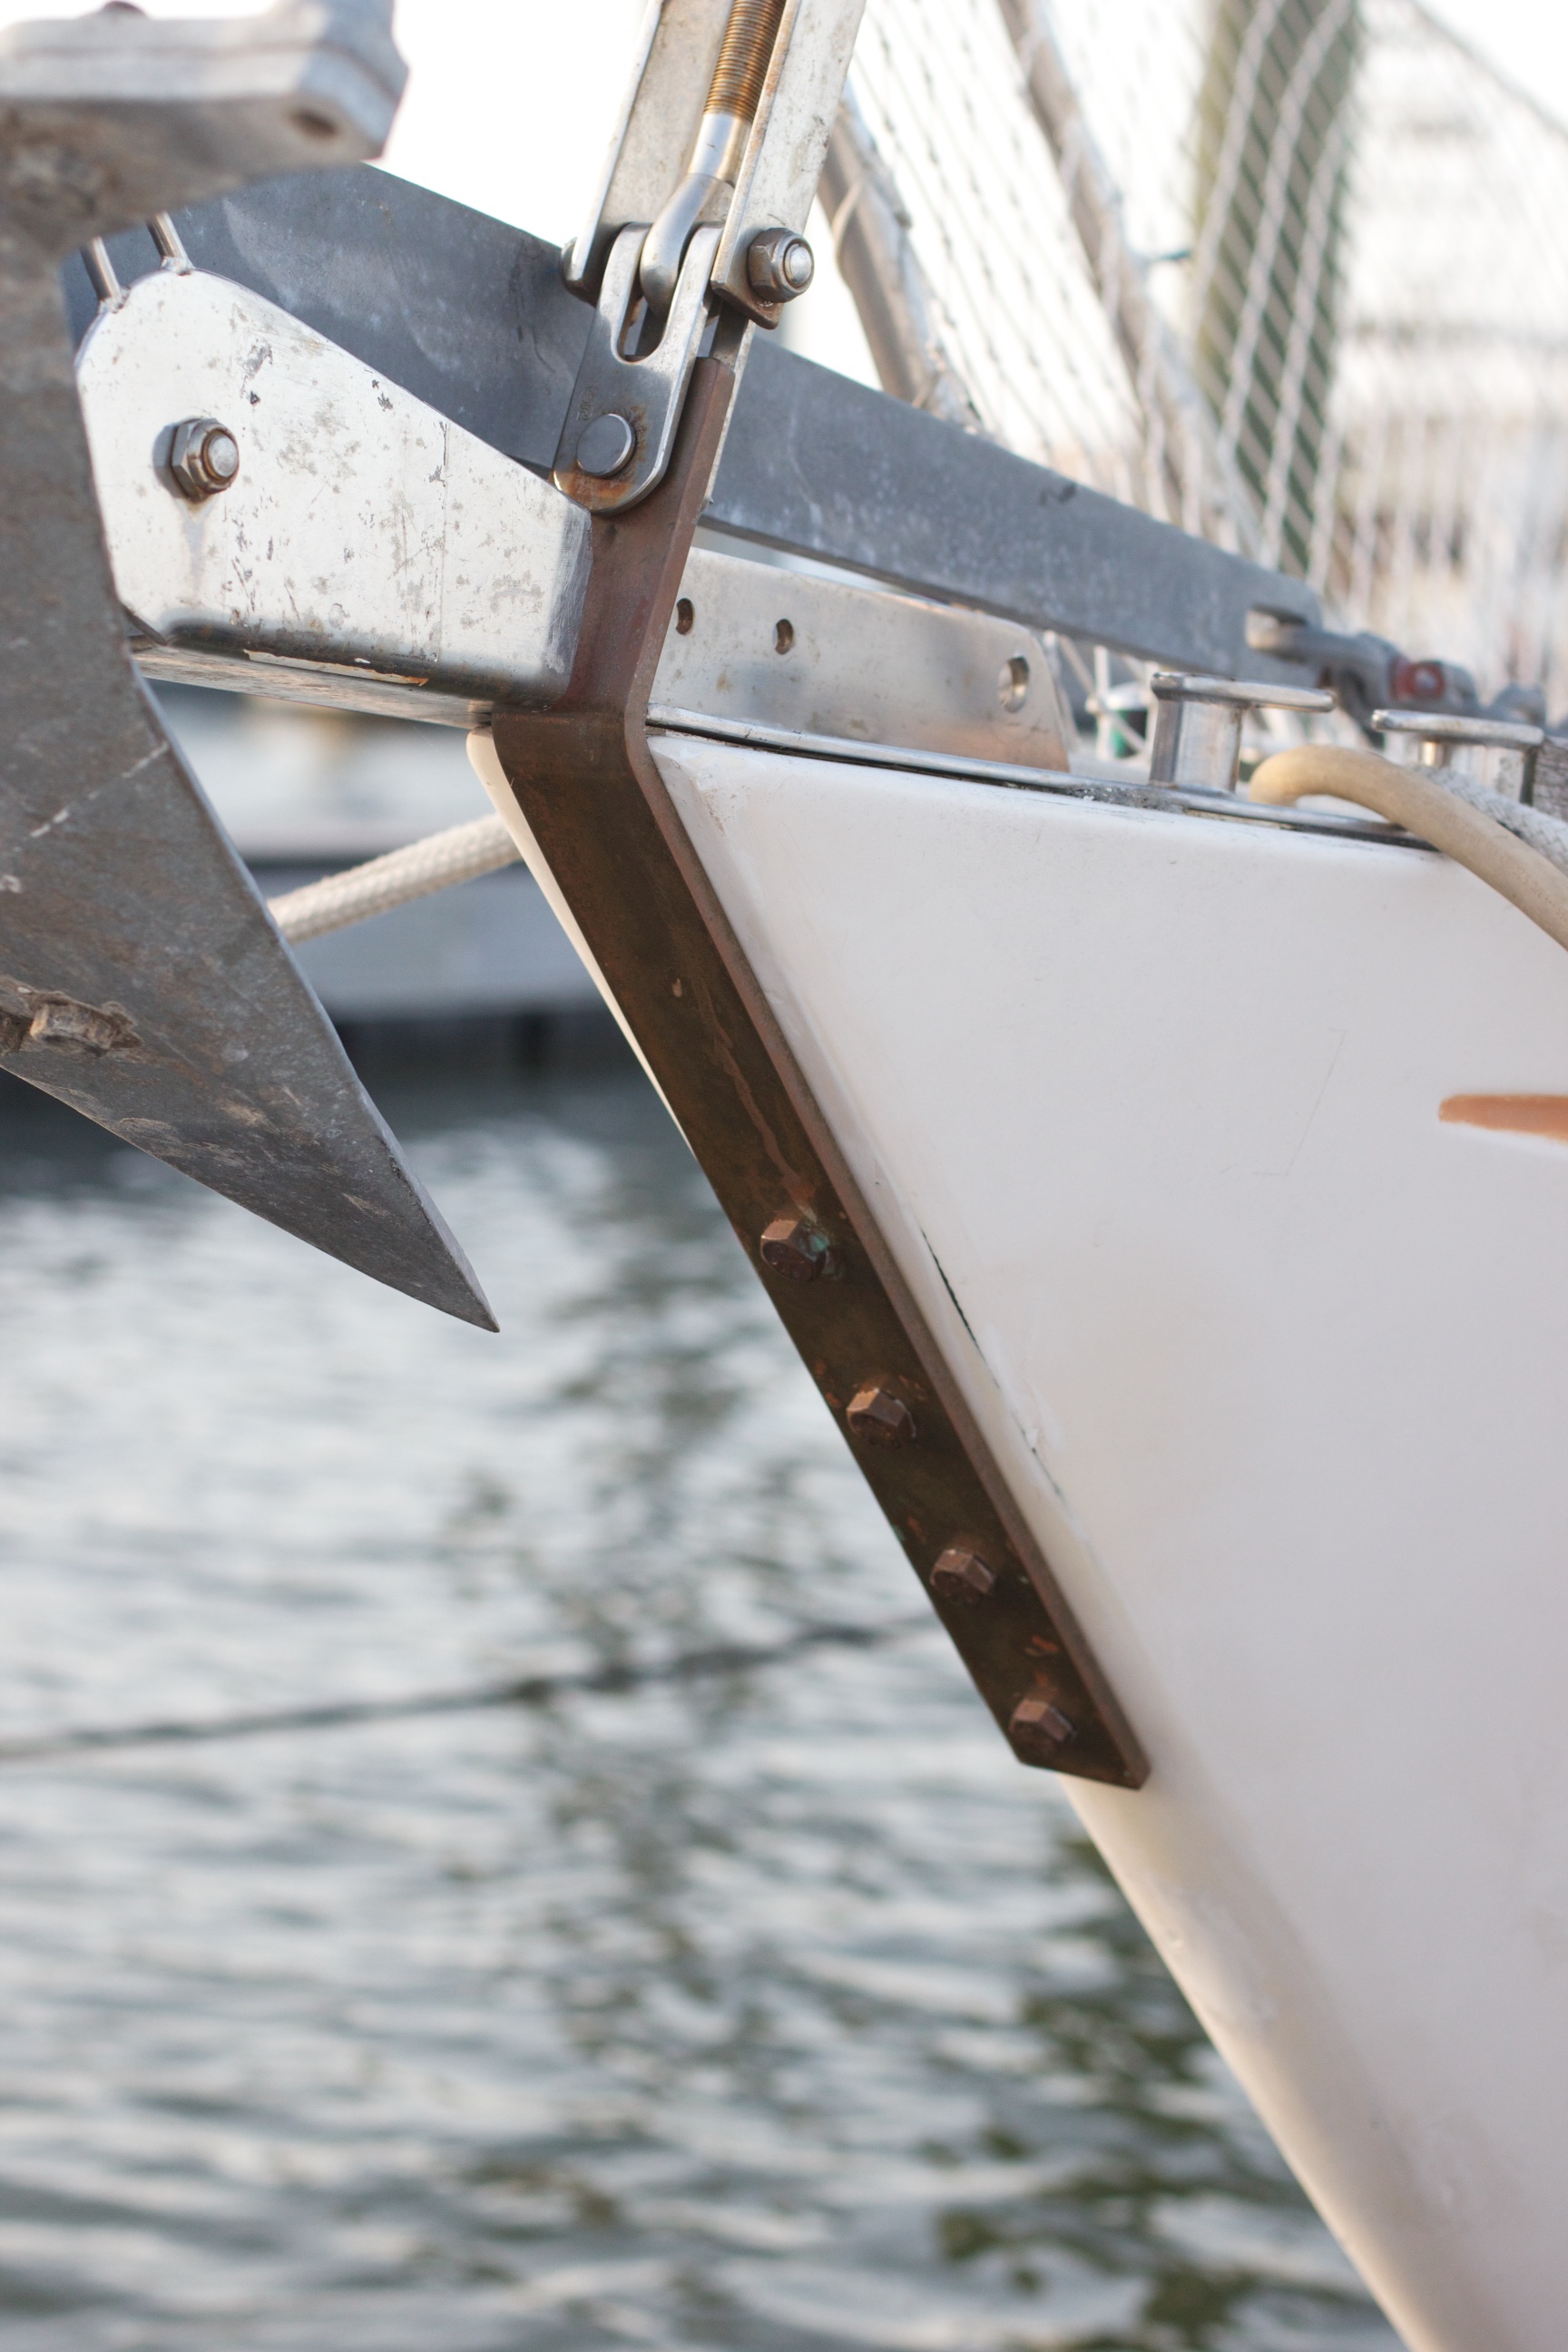
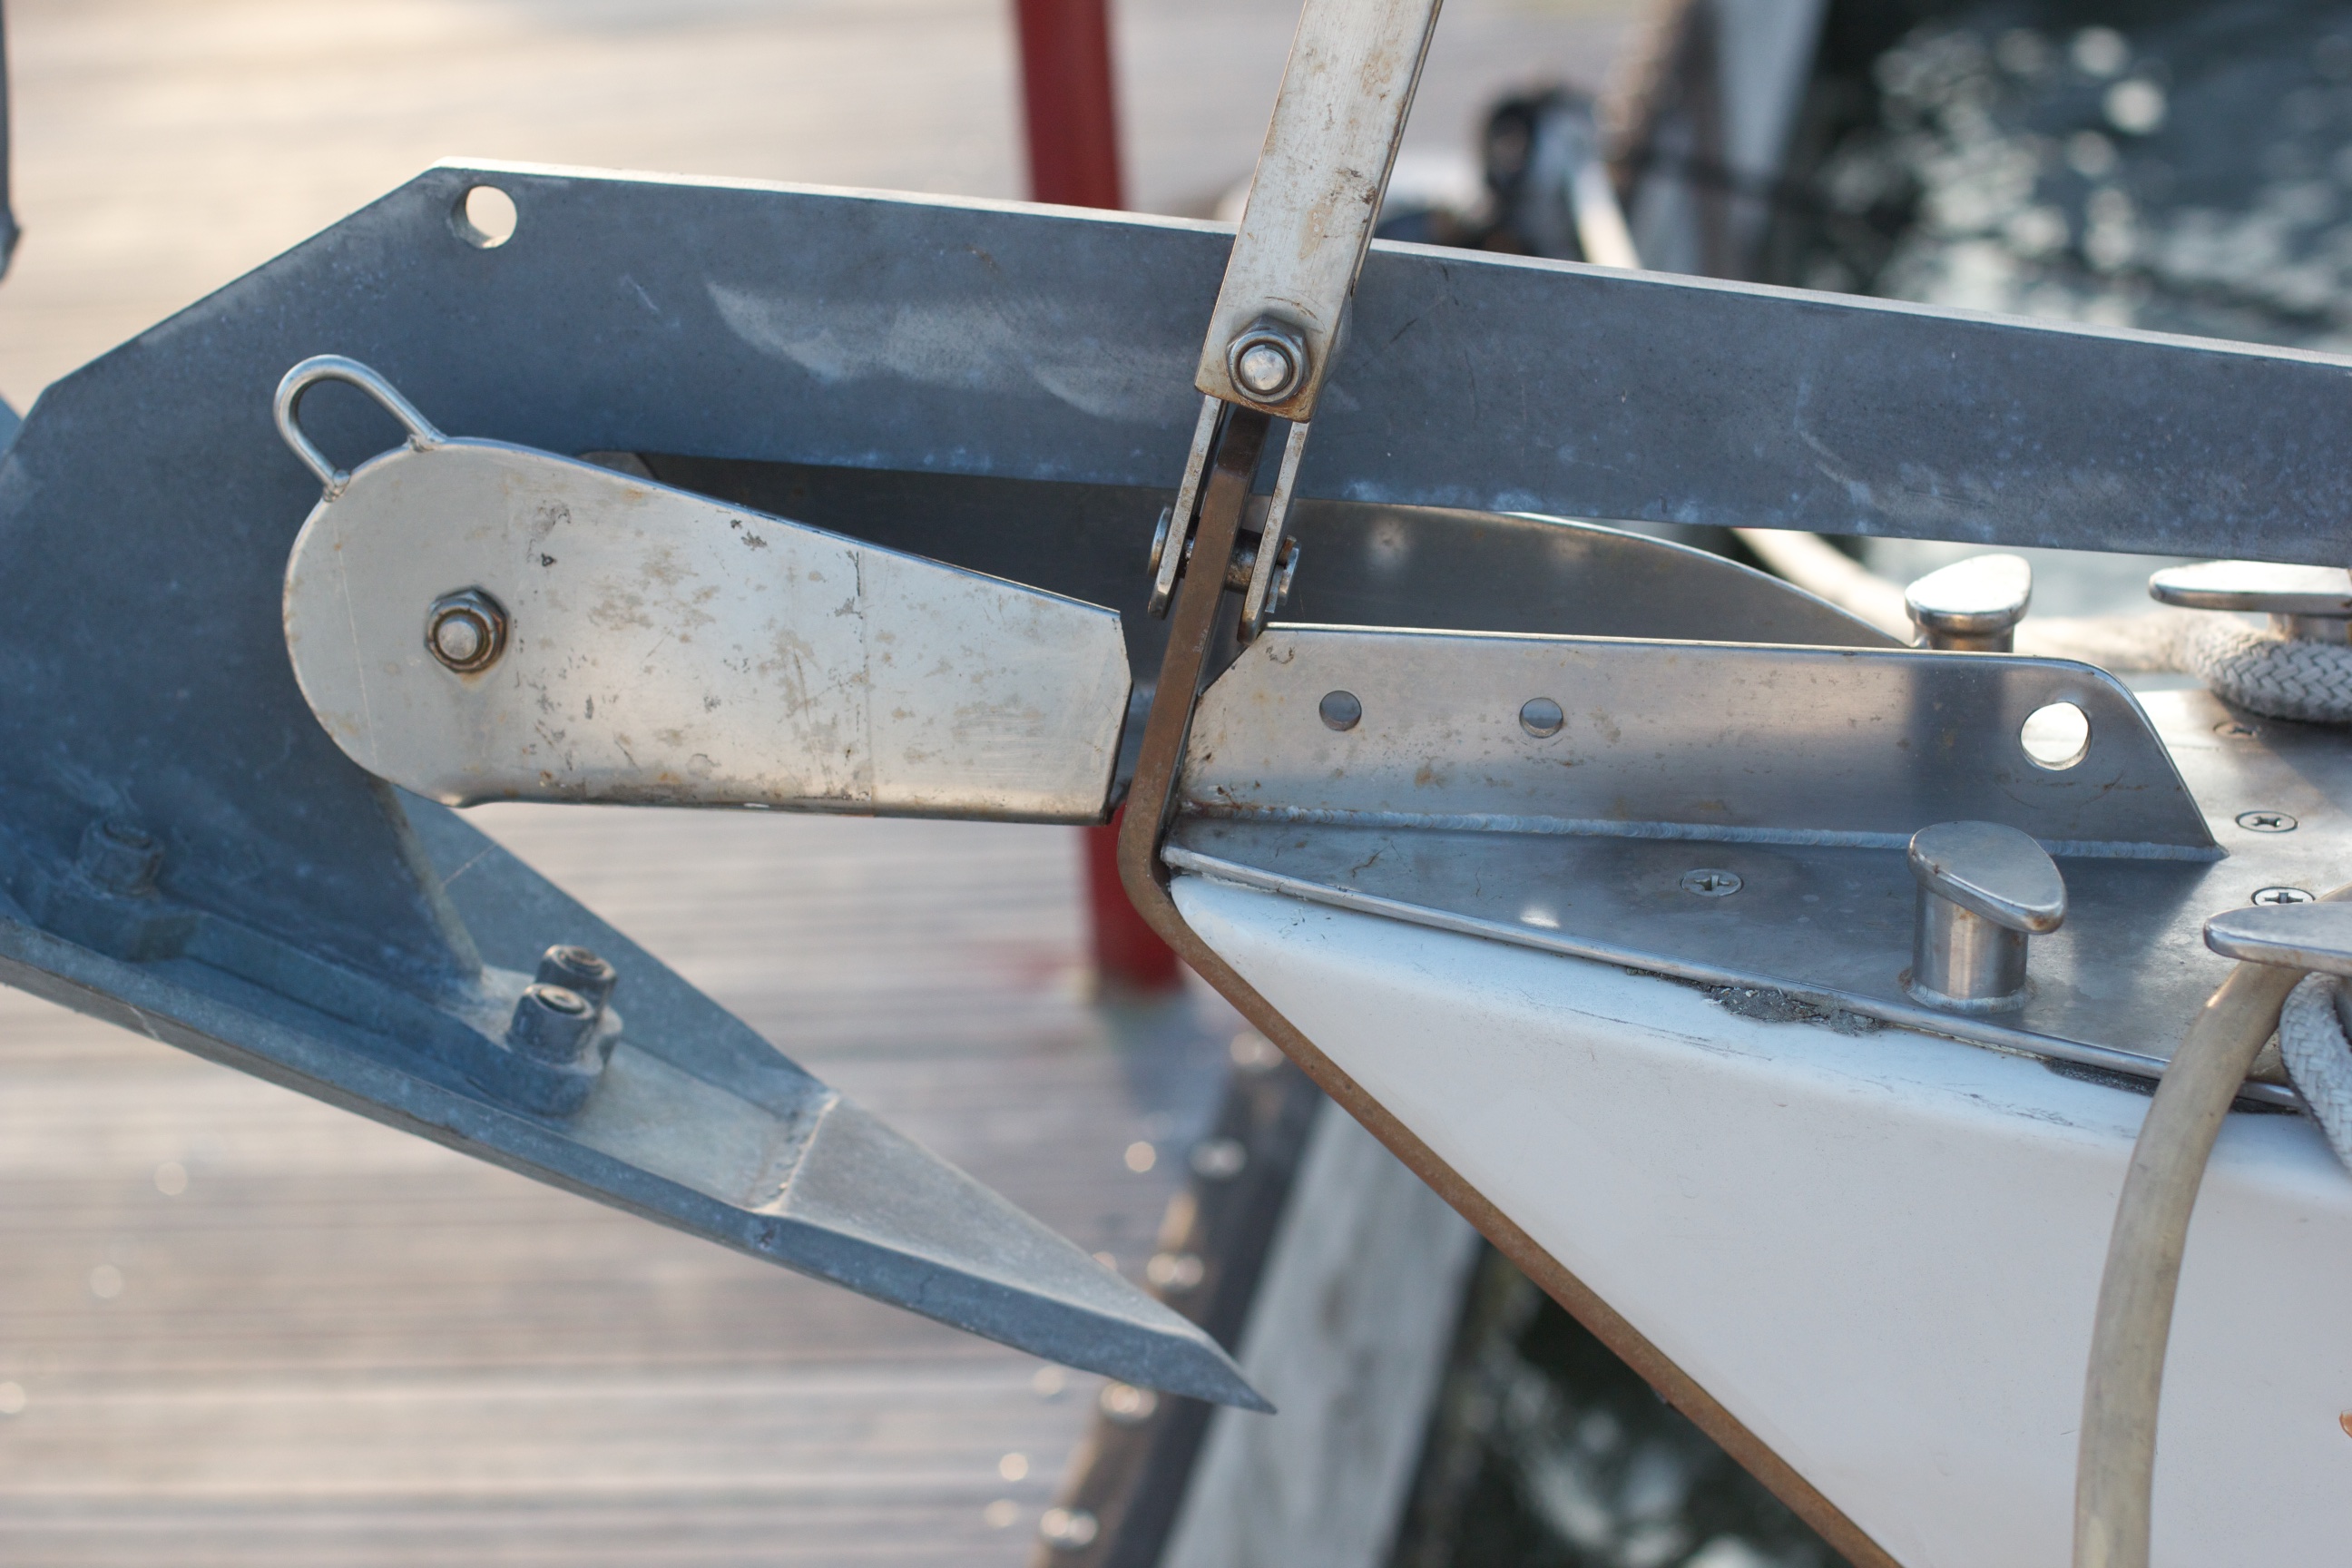
And here it is all finished.
In between all of this, I attempted to find an M12x1.25 set screw that was something other than plain carbon steel . . . and didn’t cost $20 a piece. Suffice it to say, the Internet was not kind. I actually could not find anything in the US of A. Plenty of stuff in the rest of the world where everything is metric. In the end, I purchased two M12x1.25 stainless bolts from a specialty motorcycle fastener company. I cut the head off one, cut two pieces to length, then simply used the Dremel to grind a slot in one end of each piece. I coated everything liberally with Tefgel and then installed on each side of the roller furler. Worked like a champ.
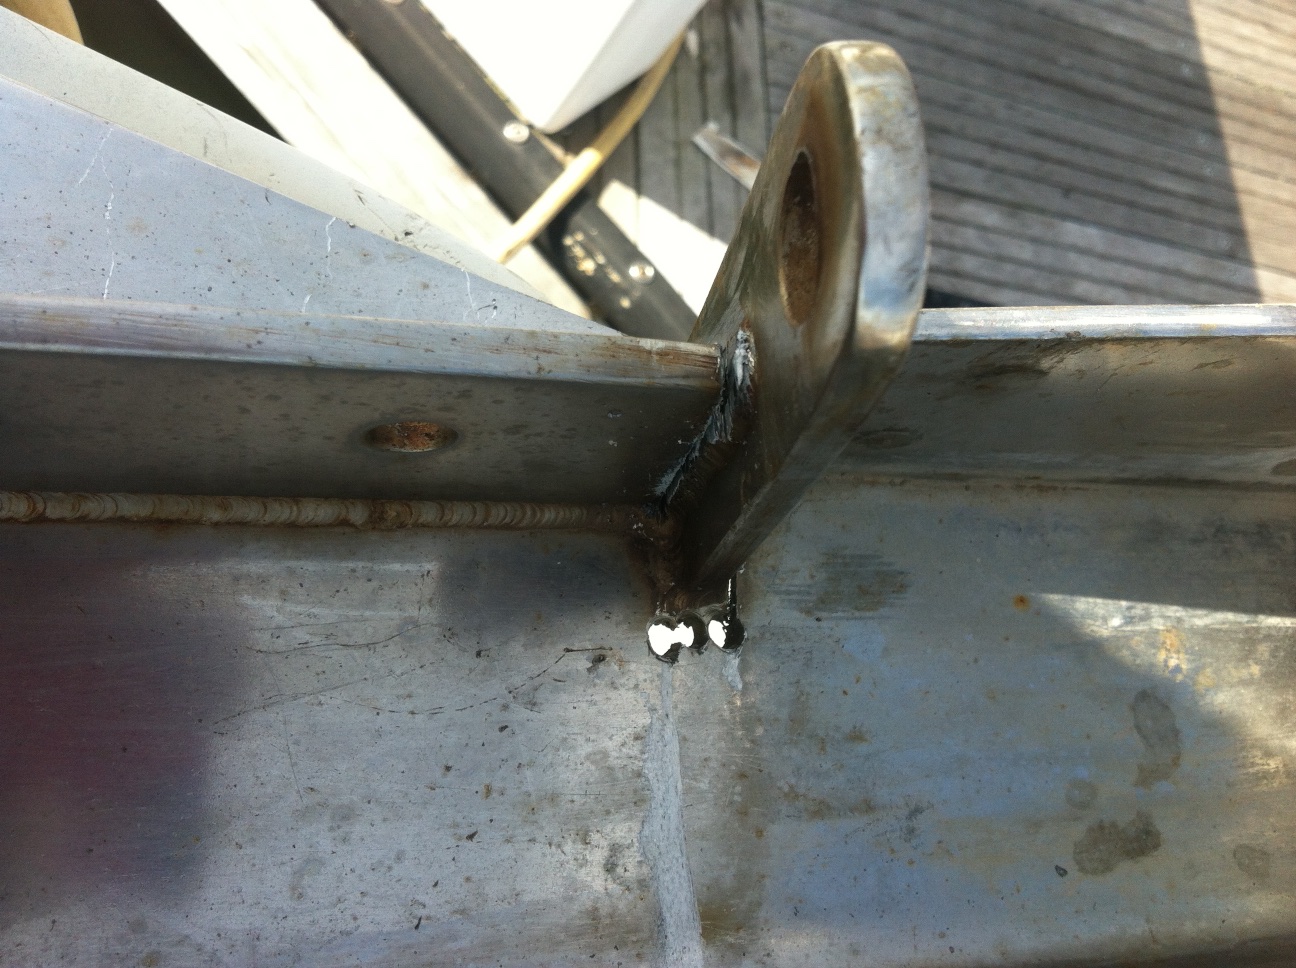
The only thing left to do is reinforce the bow anchor roller. It was welded to the previous chain plate and now it’s not. I have a piece of 1/4″ aluminum bronze that will be bolted to the base to add additional support. I already cut the slot in it so that it fits around the chain plate. I might add another piece of bronze on the other side so that the chain plate gets “sandwiched” between the two slots on the pieces of bronze and that will prevent the top from of the chain plate from “twisting”or being pushed laterally.