Few things that I’ve installed on Emet have gone smoothly and/or as desired. I must say, this installation went exactly as the manual describes.
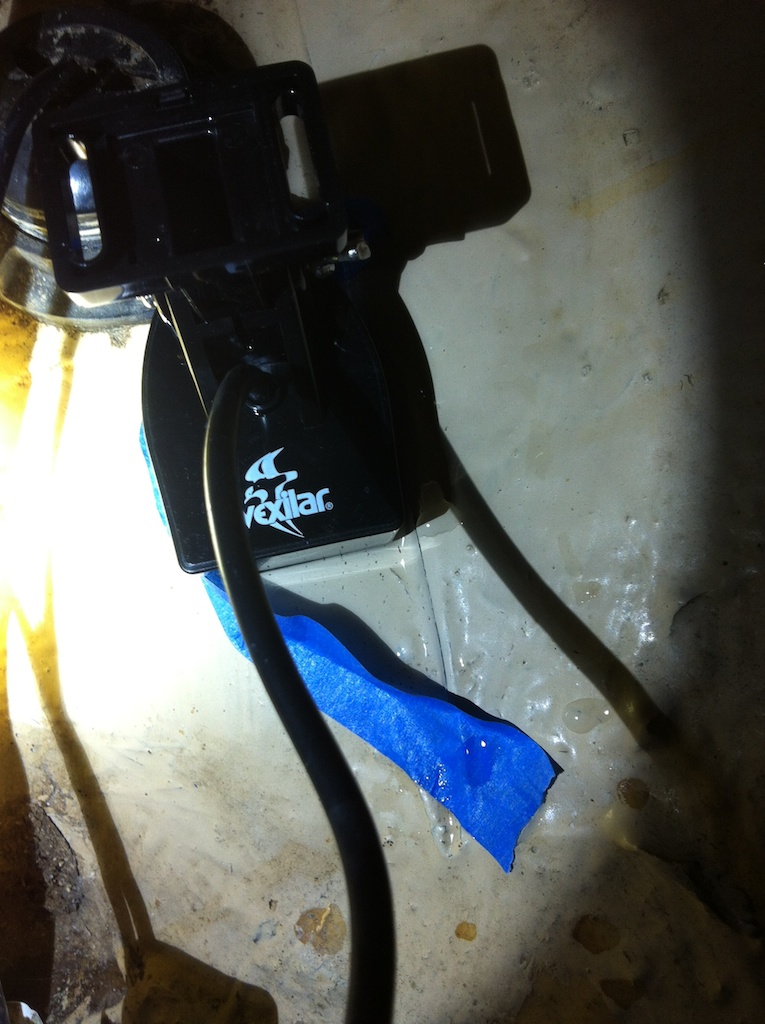
The first thing that needed to be done was find a place to install the transducer itself. Luckily, I had a fairly flat location right next to the P319 transducer.
I had some concerns about whether the sensor itself would fit. Vexilar doesn’t give the sensor dimensions. Some digging on the web yielded a website with an installation and, using some pics on that post, I could determine the rough size by scaling. I estimated that it was about 3″ long and about 2″ wide. Height didn’t really matter as I have about 2 feet of clearance. Looked like it would fit nicely on that little smooth “platform” and leave room to remove the existing sensor if I ever desired to. Once I received the unit, I found that the sensor was 1 1/8 (1.125)” inch thick(high), 1 13/16 (1.8125)” wide at its widest point, and 2 7/8 (2.875)” long.
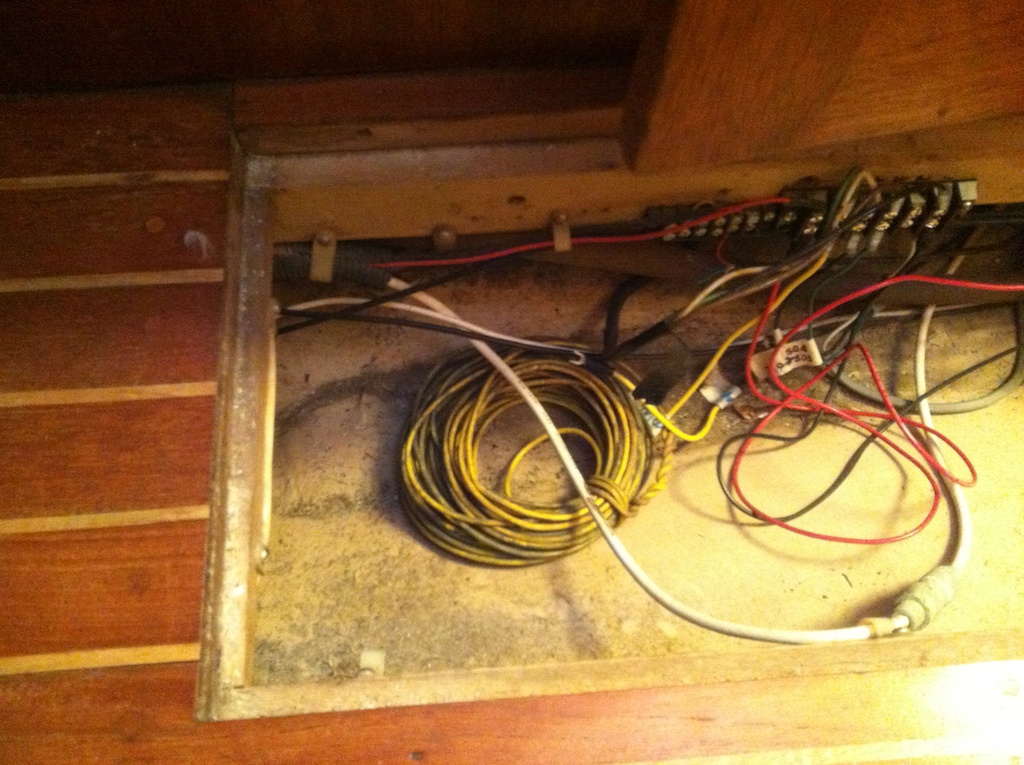
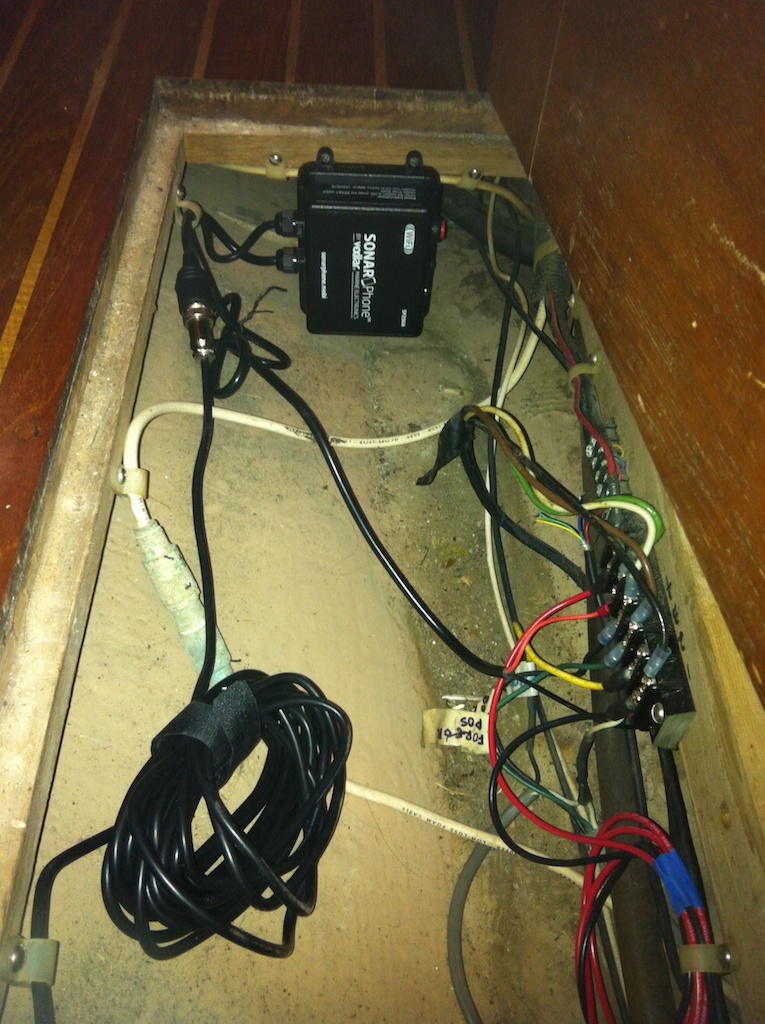
Next was to decide where to locate the T-BOX wifi unit. There’s a section of the bilge under the floor where the wiring for the wind transducer and mast lights feed into a terminal block. It’s about 5 feet from the transducer mounting location, stays pretty dry, and is easily accessed. Plus, there was an extra 12 volt terminal that is on a dedicated breaker and not being used.
If this section of Emet is under water, I’ve got bigger problems than my depth sensor working.
The next thing to do was wire everything up and drop the sensor directly into the water to get a base line reading, make sure that it all worked, and establish a control environment against which I could compare the final installation. The old sensor, when working, read around 8.5 to 9 feet. There was no keel offset put into the ST60 Tridata, so this was water depth from the sensor. I have on a number of occasions dropped a line in the water and it routinely measures 10 feet deep. The sensor is roughly 1.5 feet from the water line, so that is pretty close.
I installed the wifi unit in the bilge. For those interested, the wifi unit is 1 3/4″ thick, 5 3/8″ long, and you’ll need at least 5″ of clearance from the bottom of the cables to the top of the on/off button. I think with 5″, that leaves around 3/8″ of an inch to press the button without crimping the cables too hard. Someone with chunky fingers may need a long fingernail or small stick, but it’s doable.
I then attached the sensor to the end of the boat hook and lowered it so that it was just in the water. I turned on the wifi unit, connected the iPad wifi to the Sonarphone, opened Navionics on the iPad, and . . . this is where the true magic happened . . . it SIMPLY WORKED. Just like that Navionics opened a sounder window and started feeding in depth and bottom contour data. And the sensor read 9.4 to 9.7 feet. SWEET!
Now to install the sensor. This is the part that I figured might throw a wrench into the monkey works. The idea is to bed the sensor down to the hull with silicone or epoxy and have NO air bubbles anywhere in the adhesive between the hull and transducer bottom. Kind of hard to do with thick silicone out of a tube. I chose silicone (though this stuff really has NO purpose on a boat) because it’s not permanent (I can remove it all and redo if it doesn’t work or the sensor ever needs to be replaced), it is compatible with plastic, the manufacturer recommends it or epoxy and, really, there is no other easy option. I can think of a MUCH better solution that requires building a tube, bedding it to the hull, filling it with liquid, putting the transducer in the liquid and then sealing the transducer in or to the tube to keep the liquid in, but again, silicone is the “easy” option. Which is why the manufacturer recommends it. And that kayak guy probably wasn’t going to go through all that trouble. And neither will I if the silicone works.
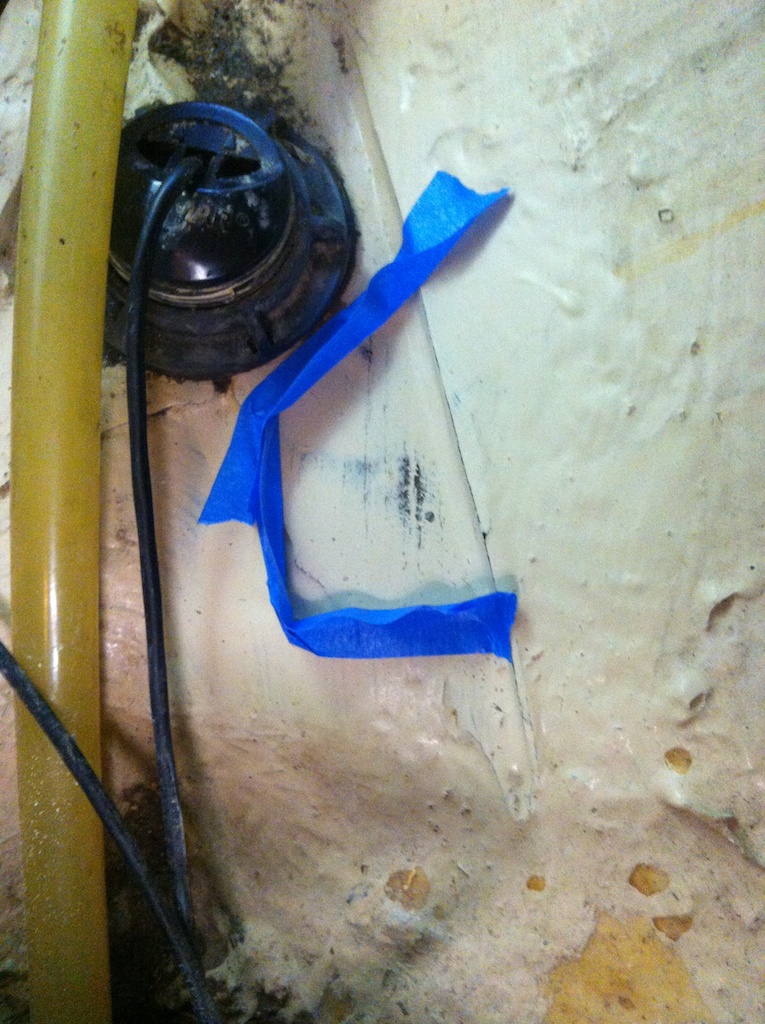
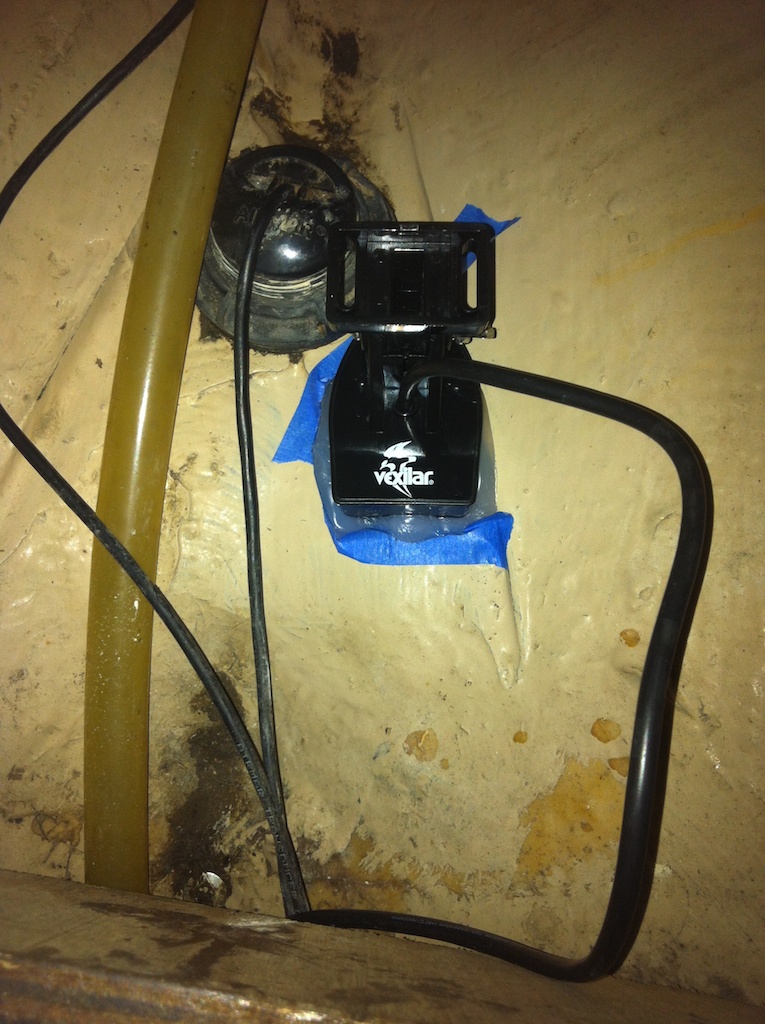
I sanded and cleaned with acetone the platform where the install would take place. I then needed to make sure that the sensor would work where it would be installed. I made a little dam with painter’s tape, poured in about 1/8″ of water, and placed the sensor in it.
Turned everything back on and the depth was 8.4 feet. Nice. Roughly 1.5 feet less than the base line reading. Exactly where it should be. That’s very close to what it should be. I put in the offset of 1.5 feet and the depth read 9.6 to 9.8 feet The software through Navionics is pretty straightforward. The system comes up initially as a split screen with the depth contour. Touch the depth contour screen and a gain slider with a gear icon appears. Touch the gear icon and the options for the sounder come up. To get rid of the contour reading split screen simply touch the map and it minimizes to a small rectangle in the lower left corner of the screen.
I cleaned up all the water, dried the platform thoroughly, and then made another dam to contain the silicone when the sensor was pressed into it.
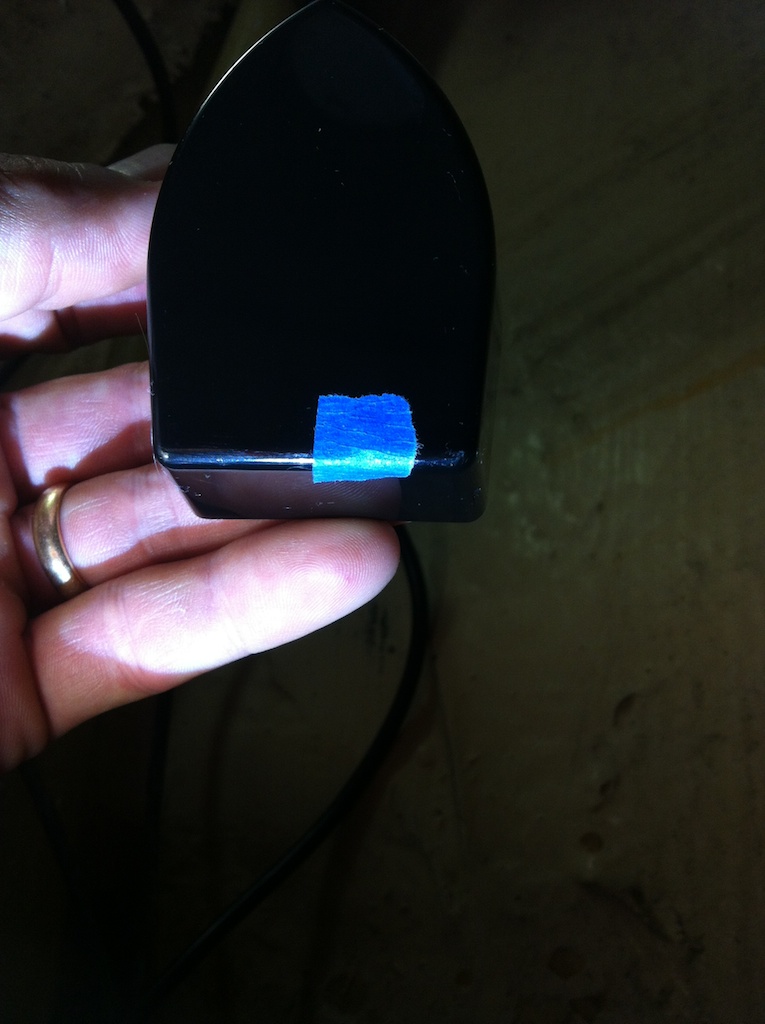
The sensor also has a water temperature sensor.
This isn’t going to give me an accurate reading because the sensor isn’t directly in the water, but I didn’t want to press silicone up inside between the sensor and housing. I took a small piece of tape and placed it over the sensor.
I then squeezed silicone (wish I knew if and where to get liquid silicone) inside the dam that was roughly 1/4″ thick and about the size of the sensor. I did my best to make sure that the beads were together to hopefully reduce the possibility of air bubbles. I pressed the sensor down into the mound of silicone and twisted gingerly while pressing down. The silicone squeezed up and around the sensor, but stayed inside the tape dam. In hind sight, I might have squeezed the silicone onto the sensor itself. That might have worked better. A liquid poured into the dam would have been best.
And that was it. I waited for the silicone to cure (the manual says not to turn on the system until the adhesive has dried) and then tested it this morning. At first, it was kind of iffy. The depth data read 1.5, 1.4, 2.7, 4.5, 7.4, 9.2, 9.3, 9.4, 9.3, 9.2, 9.3. Whew! Not sure what was going on there. My guess is that the system was re-calibrating itself to its new environment (being bedded in the silicone).
Other than taping the temp sensor, this install was exactly like the manual described. I’ve turned the system on several times and it has come up reading 9.X feet every time.
The real test will be its longevity. Hopefully this gives many years of dependable service. Right now, I am absolutely thrilled with it. It’s super having depth data right on my main chart plotter.


