
When we bought our dinghy outboard, it did not come with a gas tank. So, we went to the local marine supplies merchant and bought one. I read all the warnings and instructions and purchased the necessary plastic connections to allow it to adapt to the Evinrude fuel hose.
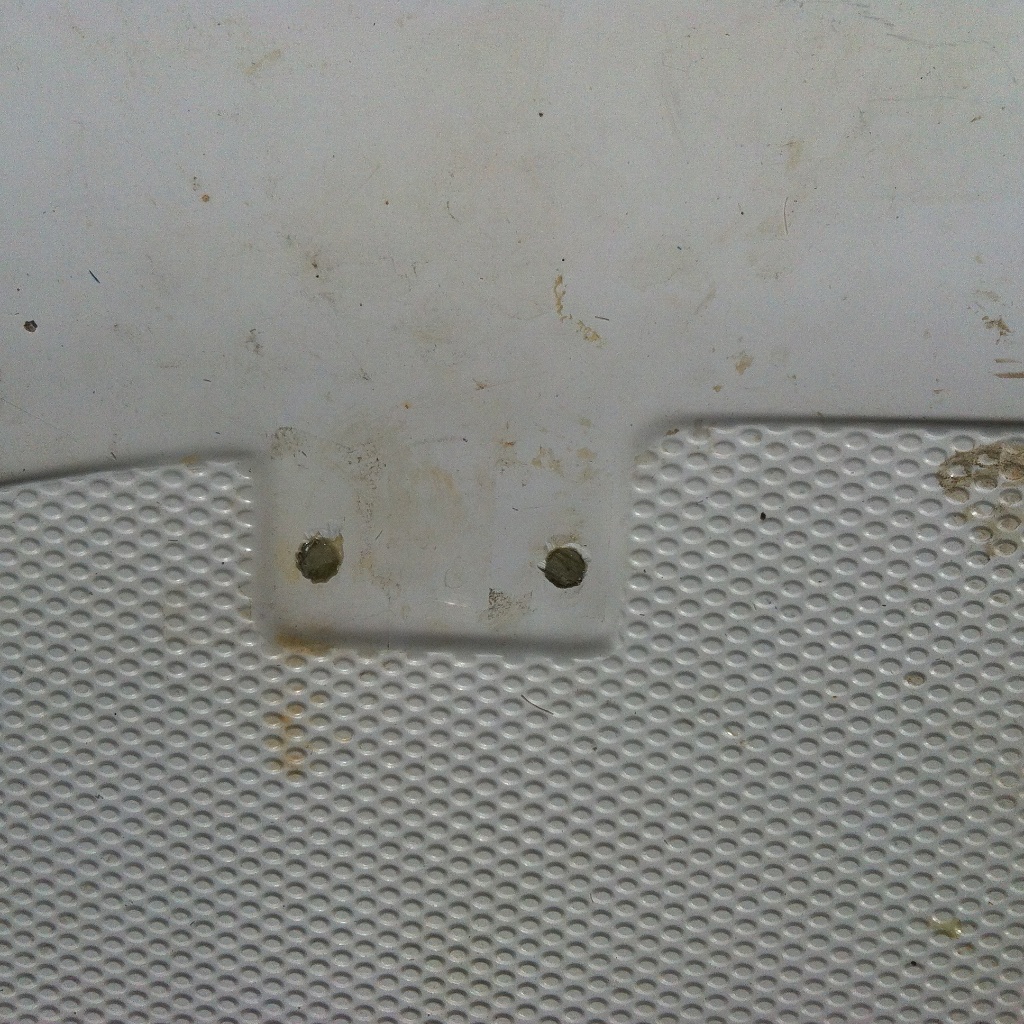
The dinghy floor has “strap brackets”, presumably to secure a tank. I also purchased some nylon webbing straps to run through these brackets to hold the tank in place.
Everything went great. The tank fit. The straps held the tank secure. The hose adapter worked. The outboard fired up and ran. I disconnected the hose and left the gas tank where it was. One of the few “projects” that went exactly as it should.
Until . . .
I was checking on everything a week or so later and noticed that the strap brackets were no longer mounted flat to the dinghy floor. They were now at an angle of about 30 degrees or so. What the ?!? Then I noticed that the gas tank was swollen and bloated like road kill. Ah yes, the warnings and instructions:
The tank will swell and, don’t worry, we took this into account when we designed the thing. It won’t split open. It’s all been allowed for by the Federal agency known as the EPA. They felt it better to allow the tank to swell up like a balloon rather than periodically vent. A highly pressurized container full of gas is much safer than one that is not. So, we put instructions on the tank telling you how NOT to have highly pressurized gasoline blown into your face WHEN you do need to vent the tank. And you will. Because you can’t connect a pressurized gasoline tank to a motor. That’s asking for trouble. It must be vented, which is exactly what this tank is designed NOT to do.
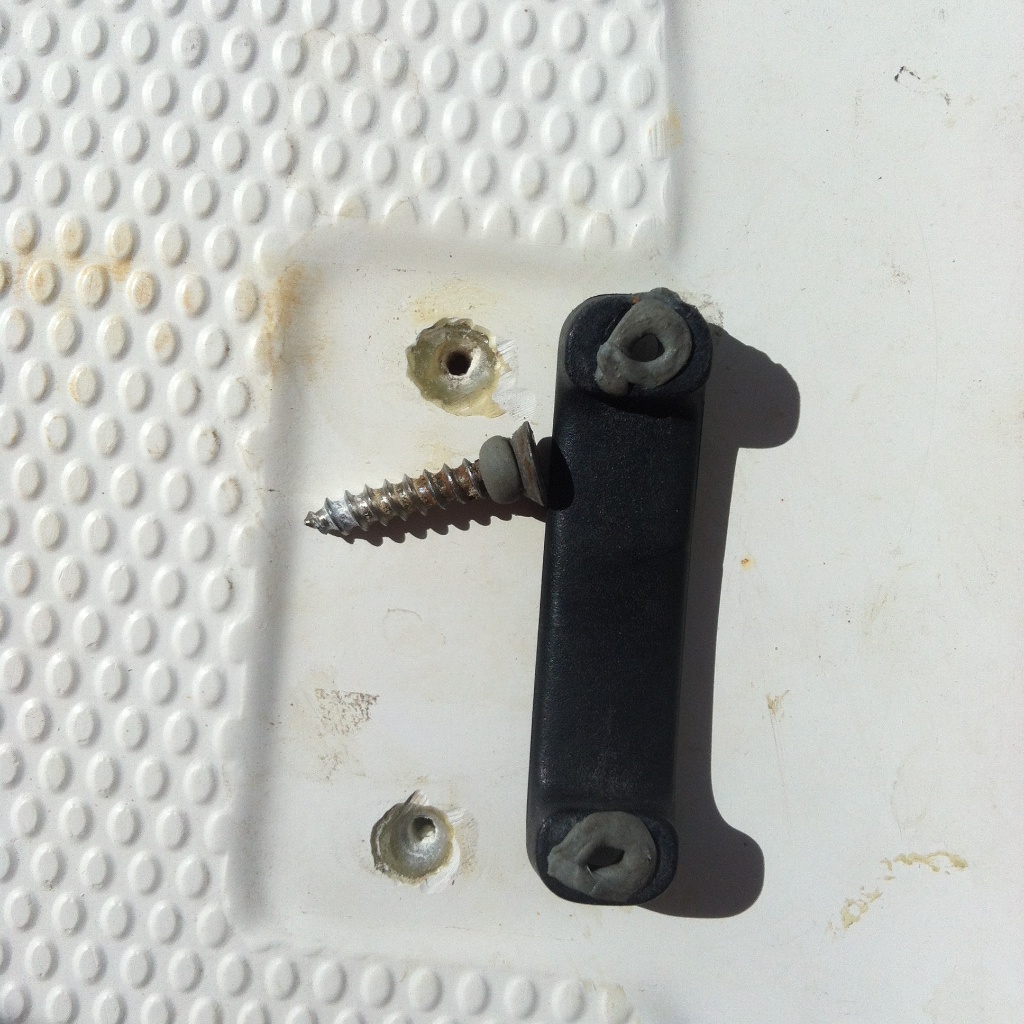
This tank had swollen due to the pressure and essentially pulled the screws holding the brackets out of the floor. I took it all apart, slightly drilled out the holes to clean them up and used the next larger size screw to secure them. I then vented the tank and secured it with the straps but not as tight this time. Just tight enough to keep the thing from sliding around. Lesson learned. The straps have to be loosened to allow for the expansion of the tank.
A few days later I went to check on it. Double what the ?!? The brackets were pulled out again and the tank was swollen more than ever. OK. I was able to tighten the screws back down and they seemed to hold. I did NOT vent the tank this time and strapped it back down a little looser. How much more could it swell?
Answer: enough to pull the brackets away from the floor again.
Stupid, stupid EPA.
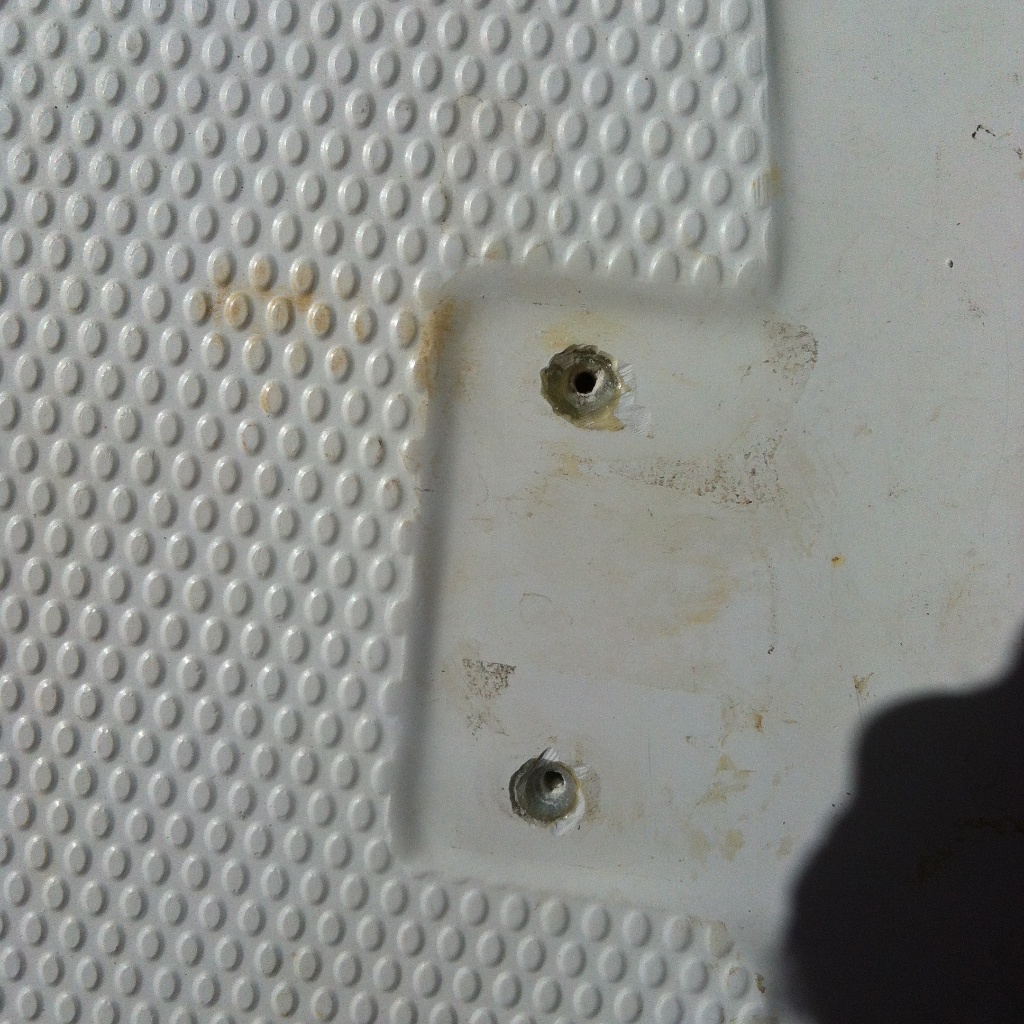
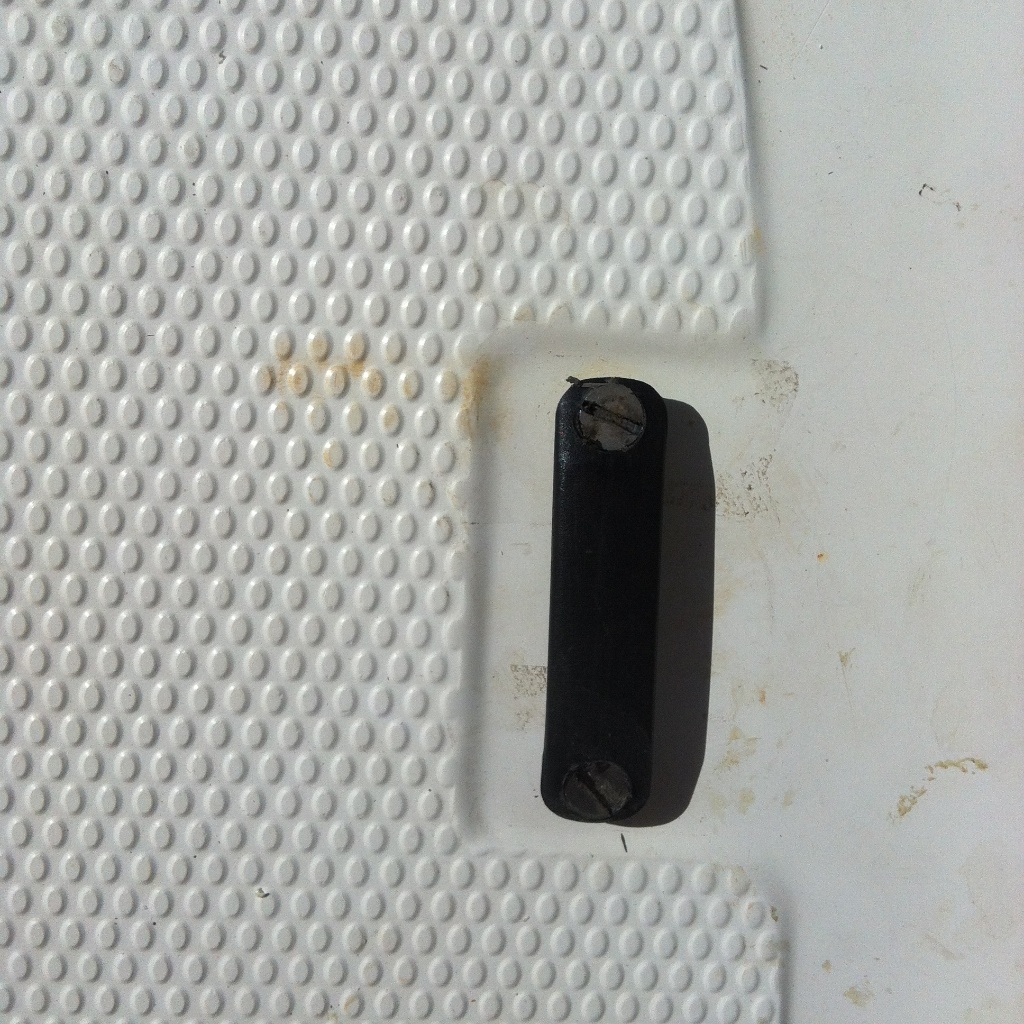
By this time, the screw holes in the floor were pretty much gone. I couldn’t go up any size larger on the screws because any larger screw wouldn’t fit through the bracket holes. I took everything apart, taped up the holes in the dinghy floor, and left the accursed tank to slide and flop around in the dinghy.
Fast forward about a month or so later. I had thought about making new brackets to accommodate larger screws. This wasn’t going to be a viably permanent solution because I had discovered that there was only about 3/16″ of an inch of dinghy floor that the screws were biting into and it wasn’t solid fiberglass. Not really enough to hold anything secure. The screws would most definitely just pull out again. I needed to add to the base of the floor. But the gap between the dinghy floor and the dinghy hull was much larger than liquid epoxy could bridge and there was no way for me to make a dam of sorts through a hole that was about 1/8″. After some more thinking, I resolved to drill out the holes much larger, use thickened epoxy to back fill, and insert this epoxy with a syringe.
I took a 1/2″ drill bit and drilled out the four holes. I then mixed West systems epoxy with some colloidal silica (I call this stuff powdered air) until it was just a little thicker than peanut butter. I then packed it into a syringe that I had cut the tip so the hole was about 1/8″. I injected this mixture into each hole until I felt it was full enough to hopefully bridge the gap between the hull and the floor and to spread out a few fractions of an inch right underneath the hole so that the screw, when screwed into the cured epoxy, would be pulling up on the epoxy which was now attached to and mushroomed under the floor. In essence, the epoxy would act as sort of a backer plate.
I left this to cure for several days. Not that it needed to, I was just in no hurry.
About a week later, I took a Dremel with a small grinding wheel and “smoothed” out the cured epoxy right above each hole.
Filled and “smoothed” holes.
A couple weeks after that, which happened to be Saturday, I got the hankering to finally finish the whole project.
Drilled and chamfered holes.
Butyl tape applied ready to install.
Fiat!
Once it was all done, I left the tank to still slide around in the dinghy. It doesn’t slide around too much as I have the dinghy ratchet strapped to the davits which prevents it from swinging and causing the tank to slide.
I’m still amazed at how much that tank swells. When I was finishing this up, the tank was almost oval instead of flat on the top and bottom. It had swollen that much. It’s only a matter of time before that thing ruptures and spills 3 gallons of 2-cycle fuel all of the place. I hope that doesn’t happen, but I’m really afraid that it will.
[…] I resolve to find out what the heck is going on with my tanks because I’ll be hog tied if I’m gonna shell out $700 because some gov’t agency has decided that I need a “new ones to make me safer.” Remember that plastic, ventless, gas tank fiasco in my dinghy? […]