
You wouldn’t think it would be so difficult in the 21st century to find a decent fan for a sailboat. It is. By all accounts, it is statistically impossible.
Enter the Emet Yacht Fan. Built by yours truly and I’m giving away the plans. They’re simple, reliable, and customizable for those with the inclination.
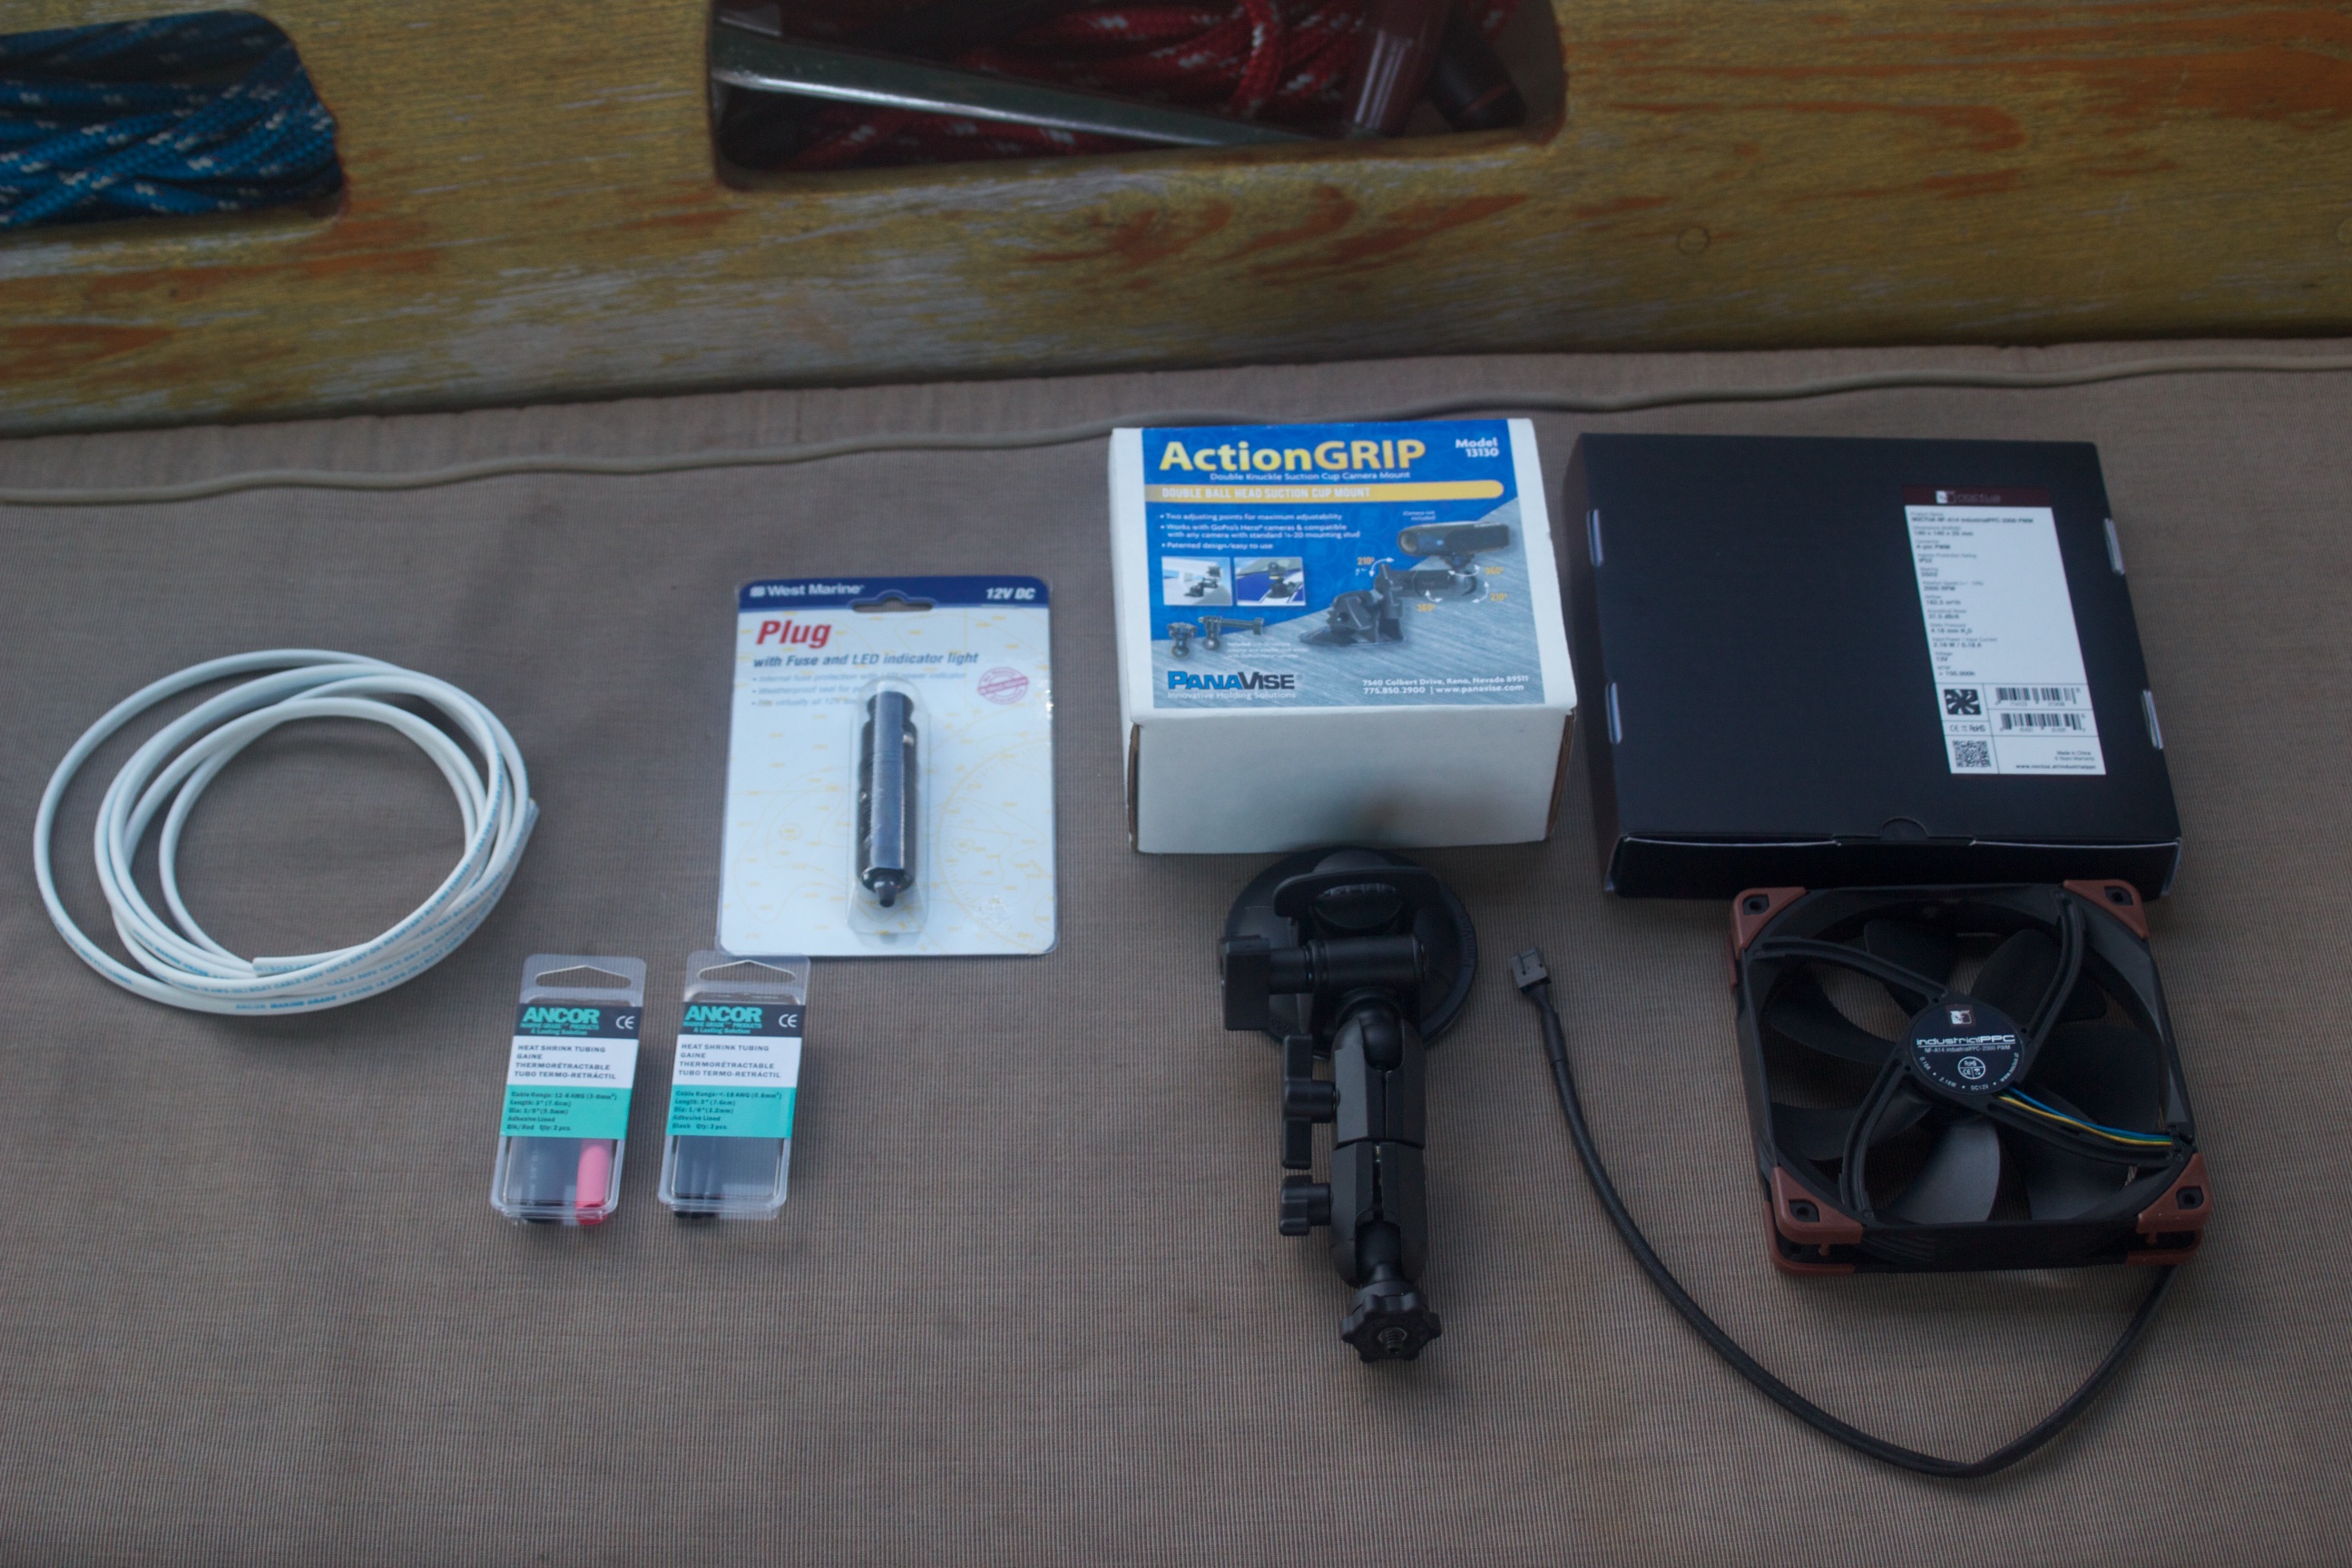
Here’s what you’ll need:
- Noctua NF-A14 industrialPPC fan – Any of the NF-A14 12 volt fans will work. The 3000 RPM is a bit loud, but it pushes some air. $25
- Panavise 13130 ActionGRIP Double Knuckle Suction Cup Camera Mount – Of course other mounts will work. This one has complete articulation and allows for easy adjustment to direct the fan output. $35
- 12 volt plug – $5 or less anywhere but that big box marine store
- Length of marine grade 18/2 duplex wire – I got a piece that was 6 feet long. $3
- Heat shrink tubing (adhesive kind is the best) $3
- Soldering iron and solder – You should already have these. If not, I have the Weller WPS18MP and it works absolutely great. The temperature isn’t controllable, but the tip gets hot enough to solder quickly and evenly. It works as well as some soldering stations I’ve used. You want an iron where the tip gets to AT LEAST 750 F. Anything cooler than that and you’re gonna have a hard time getting good solder joints quickly on all but the very smallest wires.
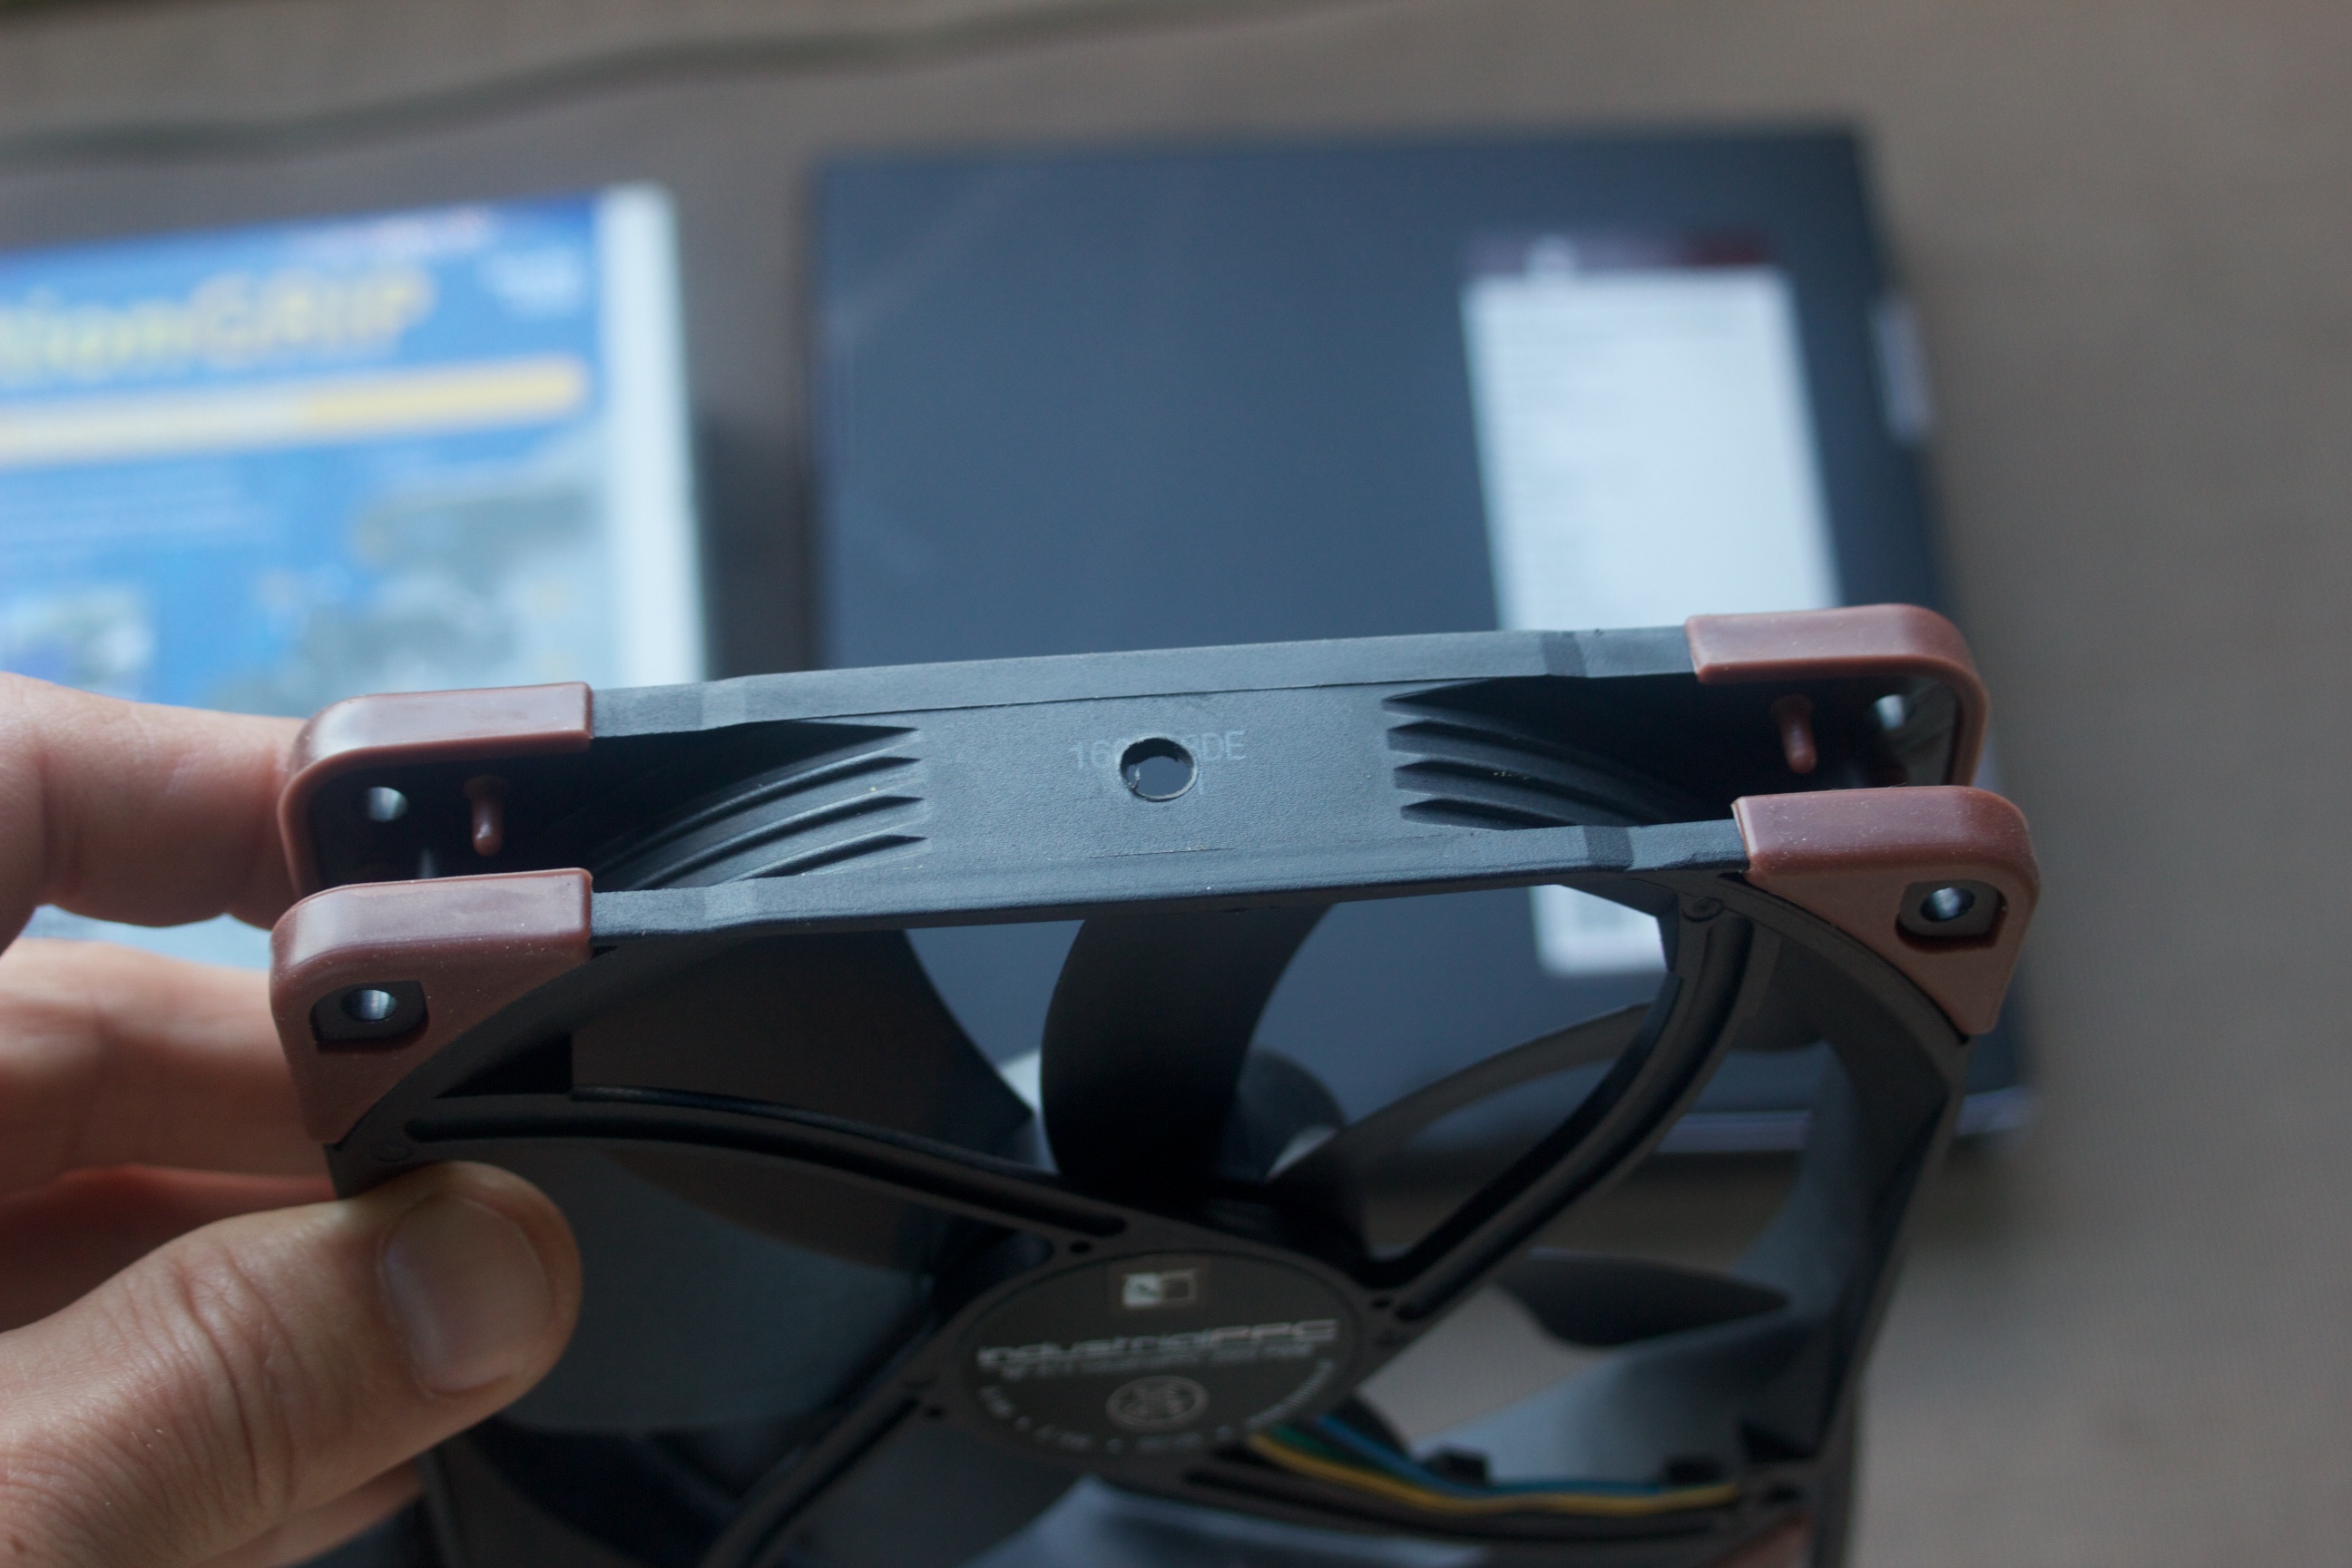
Pick an edge of the fan to drill and tap a 1/4-20 UNC(NC) thread. Use care to not damage the fan blades as you do this and don’t apply too much pressure to the fibre-glass/polyamide frame. It’s tough, but nothing’s unbreakable (except Bruce Willis).
Cut off the connector on the fan cable. Pin 1 is ground (black). Pin 2 is + power (yellow). You’ll see 4 wires on the pic as I ordered the PWM version because I found it cheap. Those other two wires aren’t used for this so just fold them out of the way.
Strip off about 1/8″ of insulation from all wires that are to be used on the duplex cable and the fan cable. Solder all ends. Cut 2 pieces of heat shrink, slip over the wires, then solder the positive wires together and the negative wires together. Yes, it appears odd that the yellow goes to red and the black goes to yellow. The AYBC color code for negative on a marine DC voltage system is now yellow. This is to prevent confusion with the hot/live of a 120 volt AC system. Connecting a 12 volt DC negative to a 120 volt AC live/hot wire is no bueno for nada. I haven’t made this mistake, but I imagine it would rival a small 4th of July fireworks show. Seal up the heat shrink. Always start at the middle and work out to both ends. This will prevent bubbles.
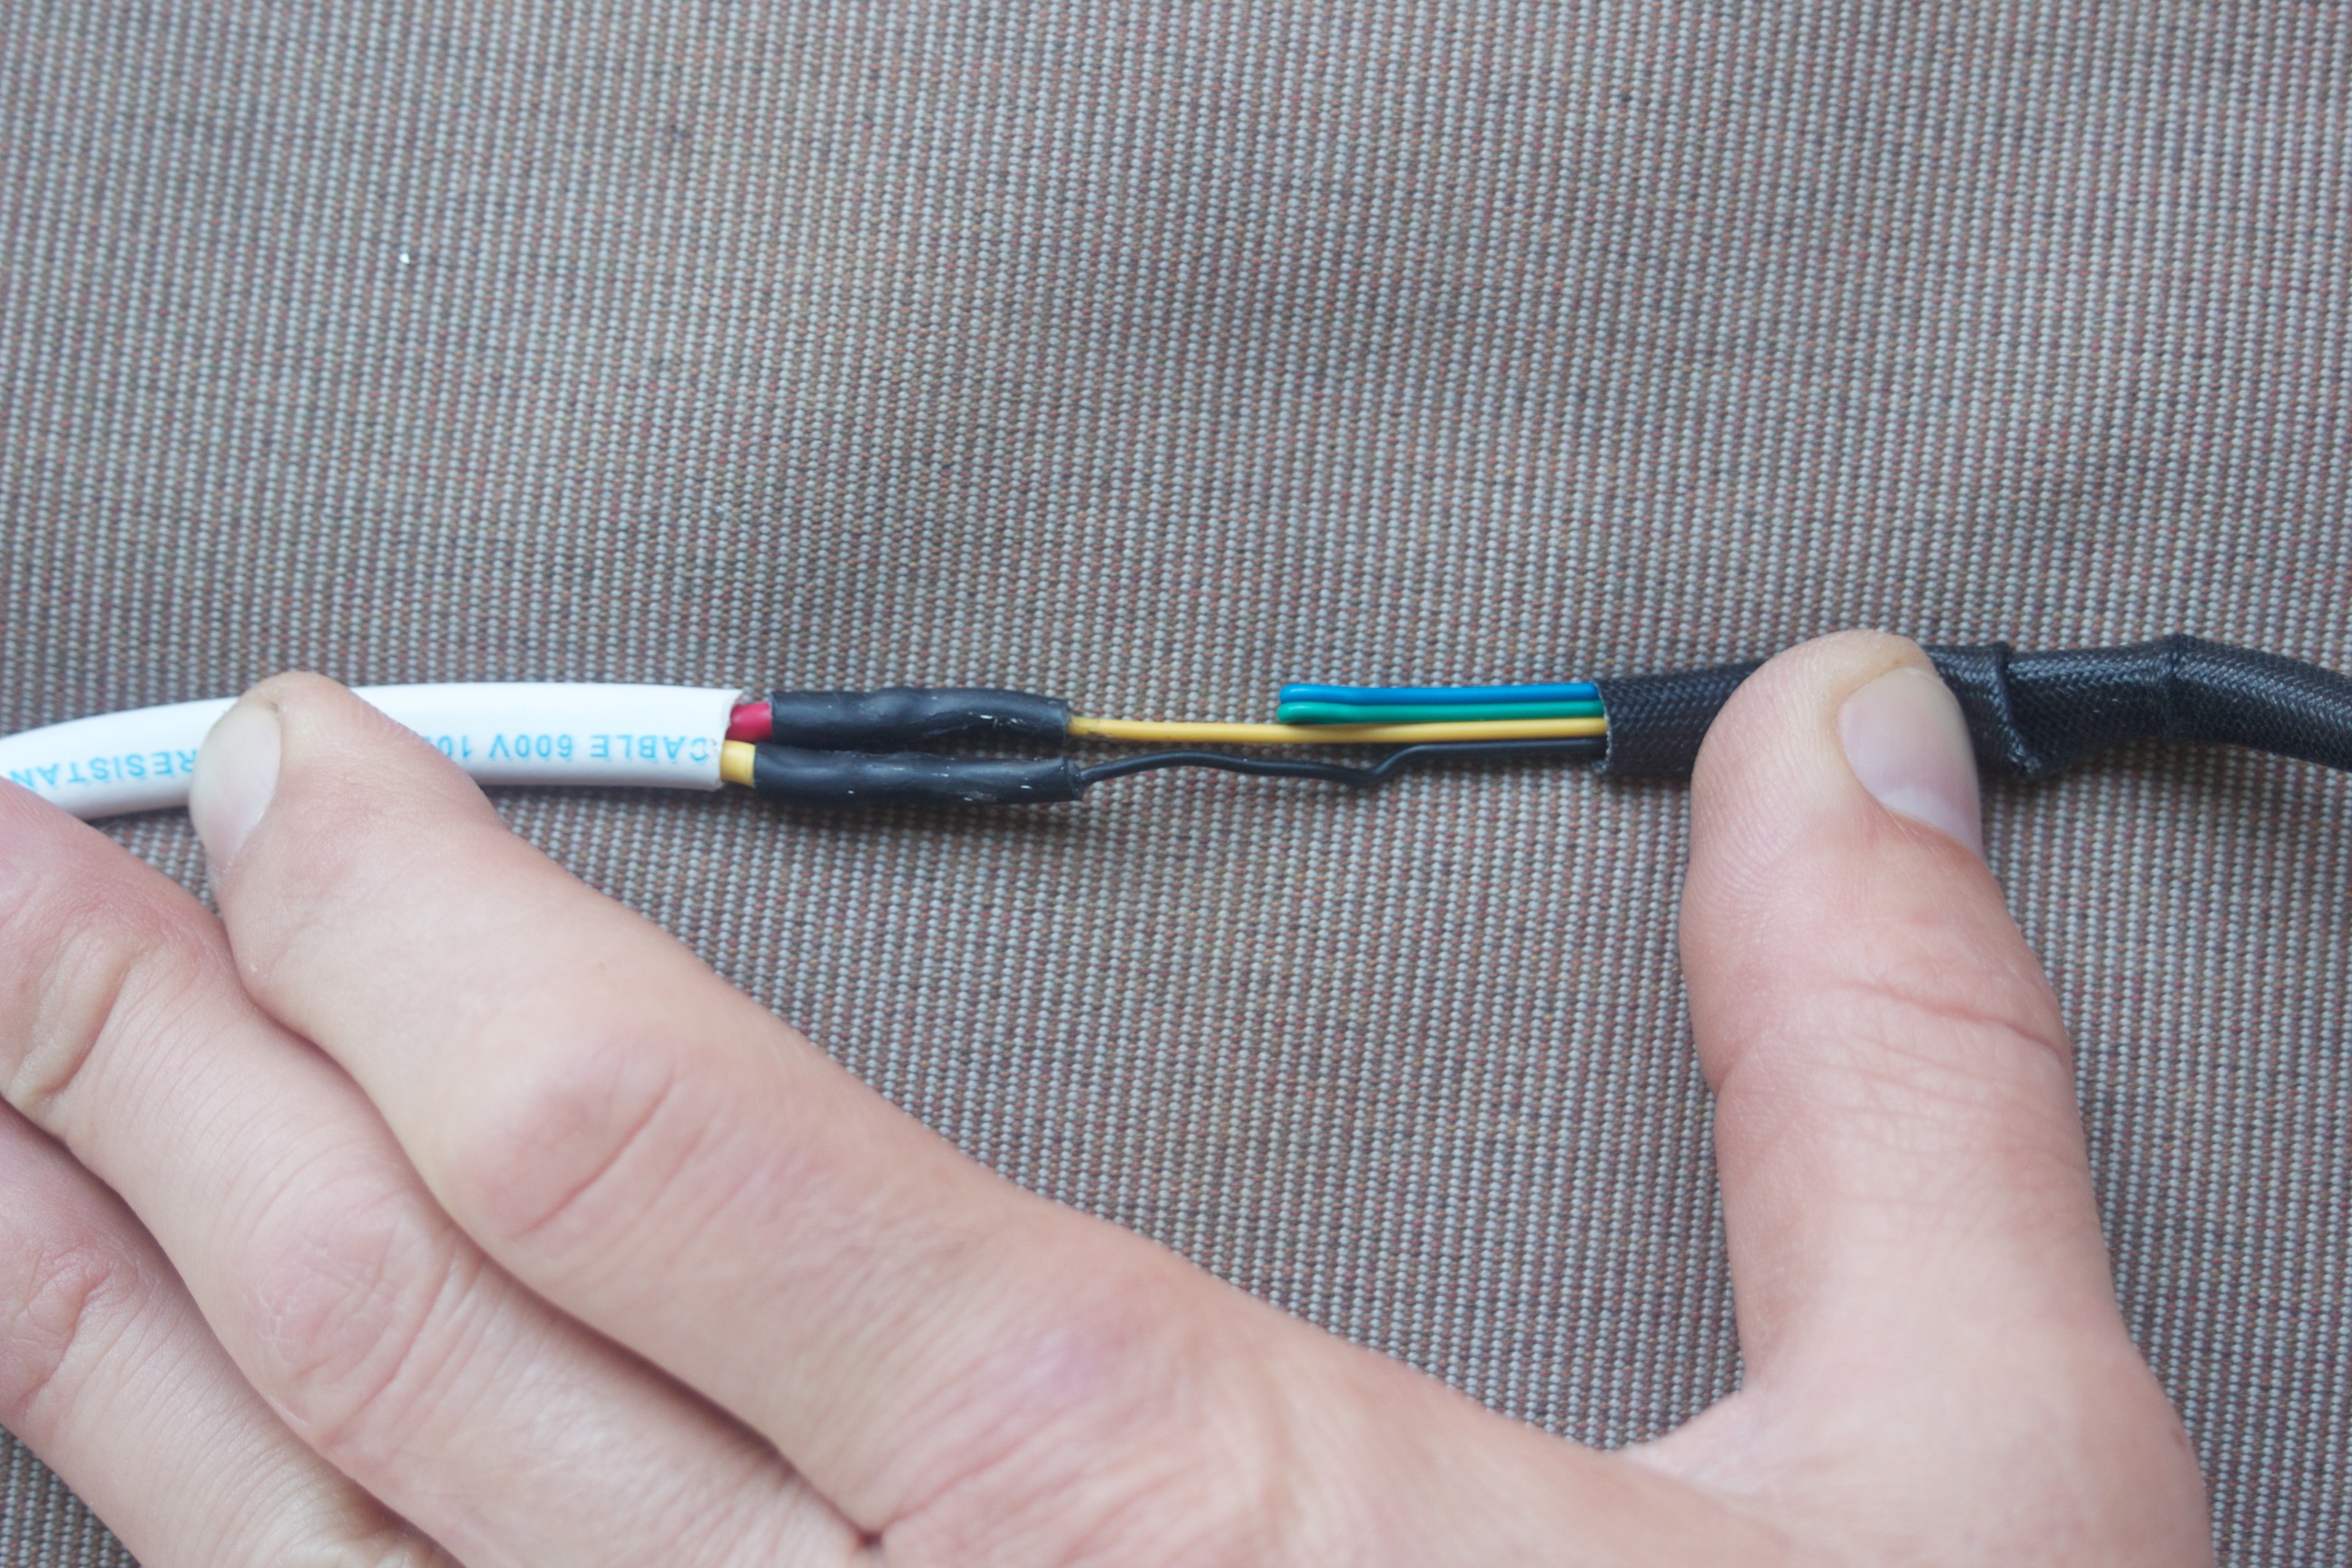
Slide the fan wire sleeve back over the wires and then put a large piece of heat shrink over that.
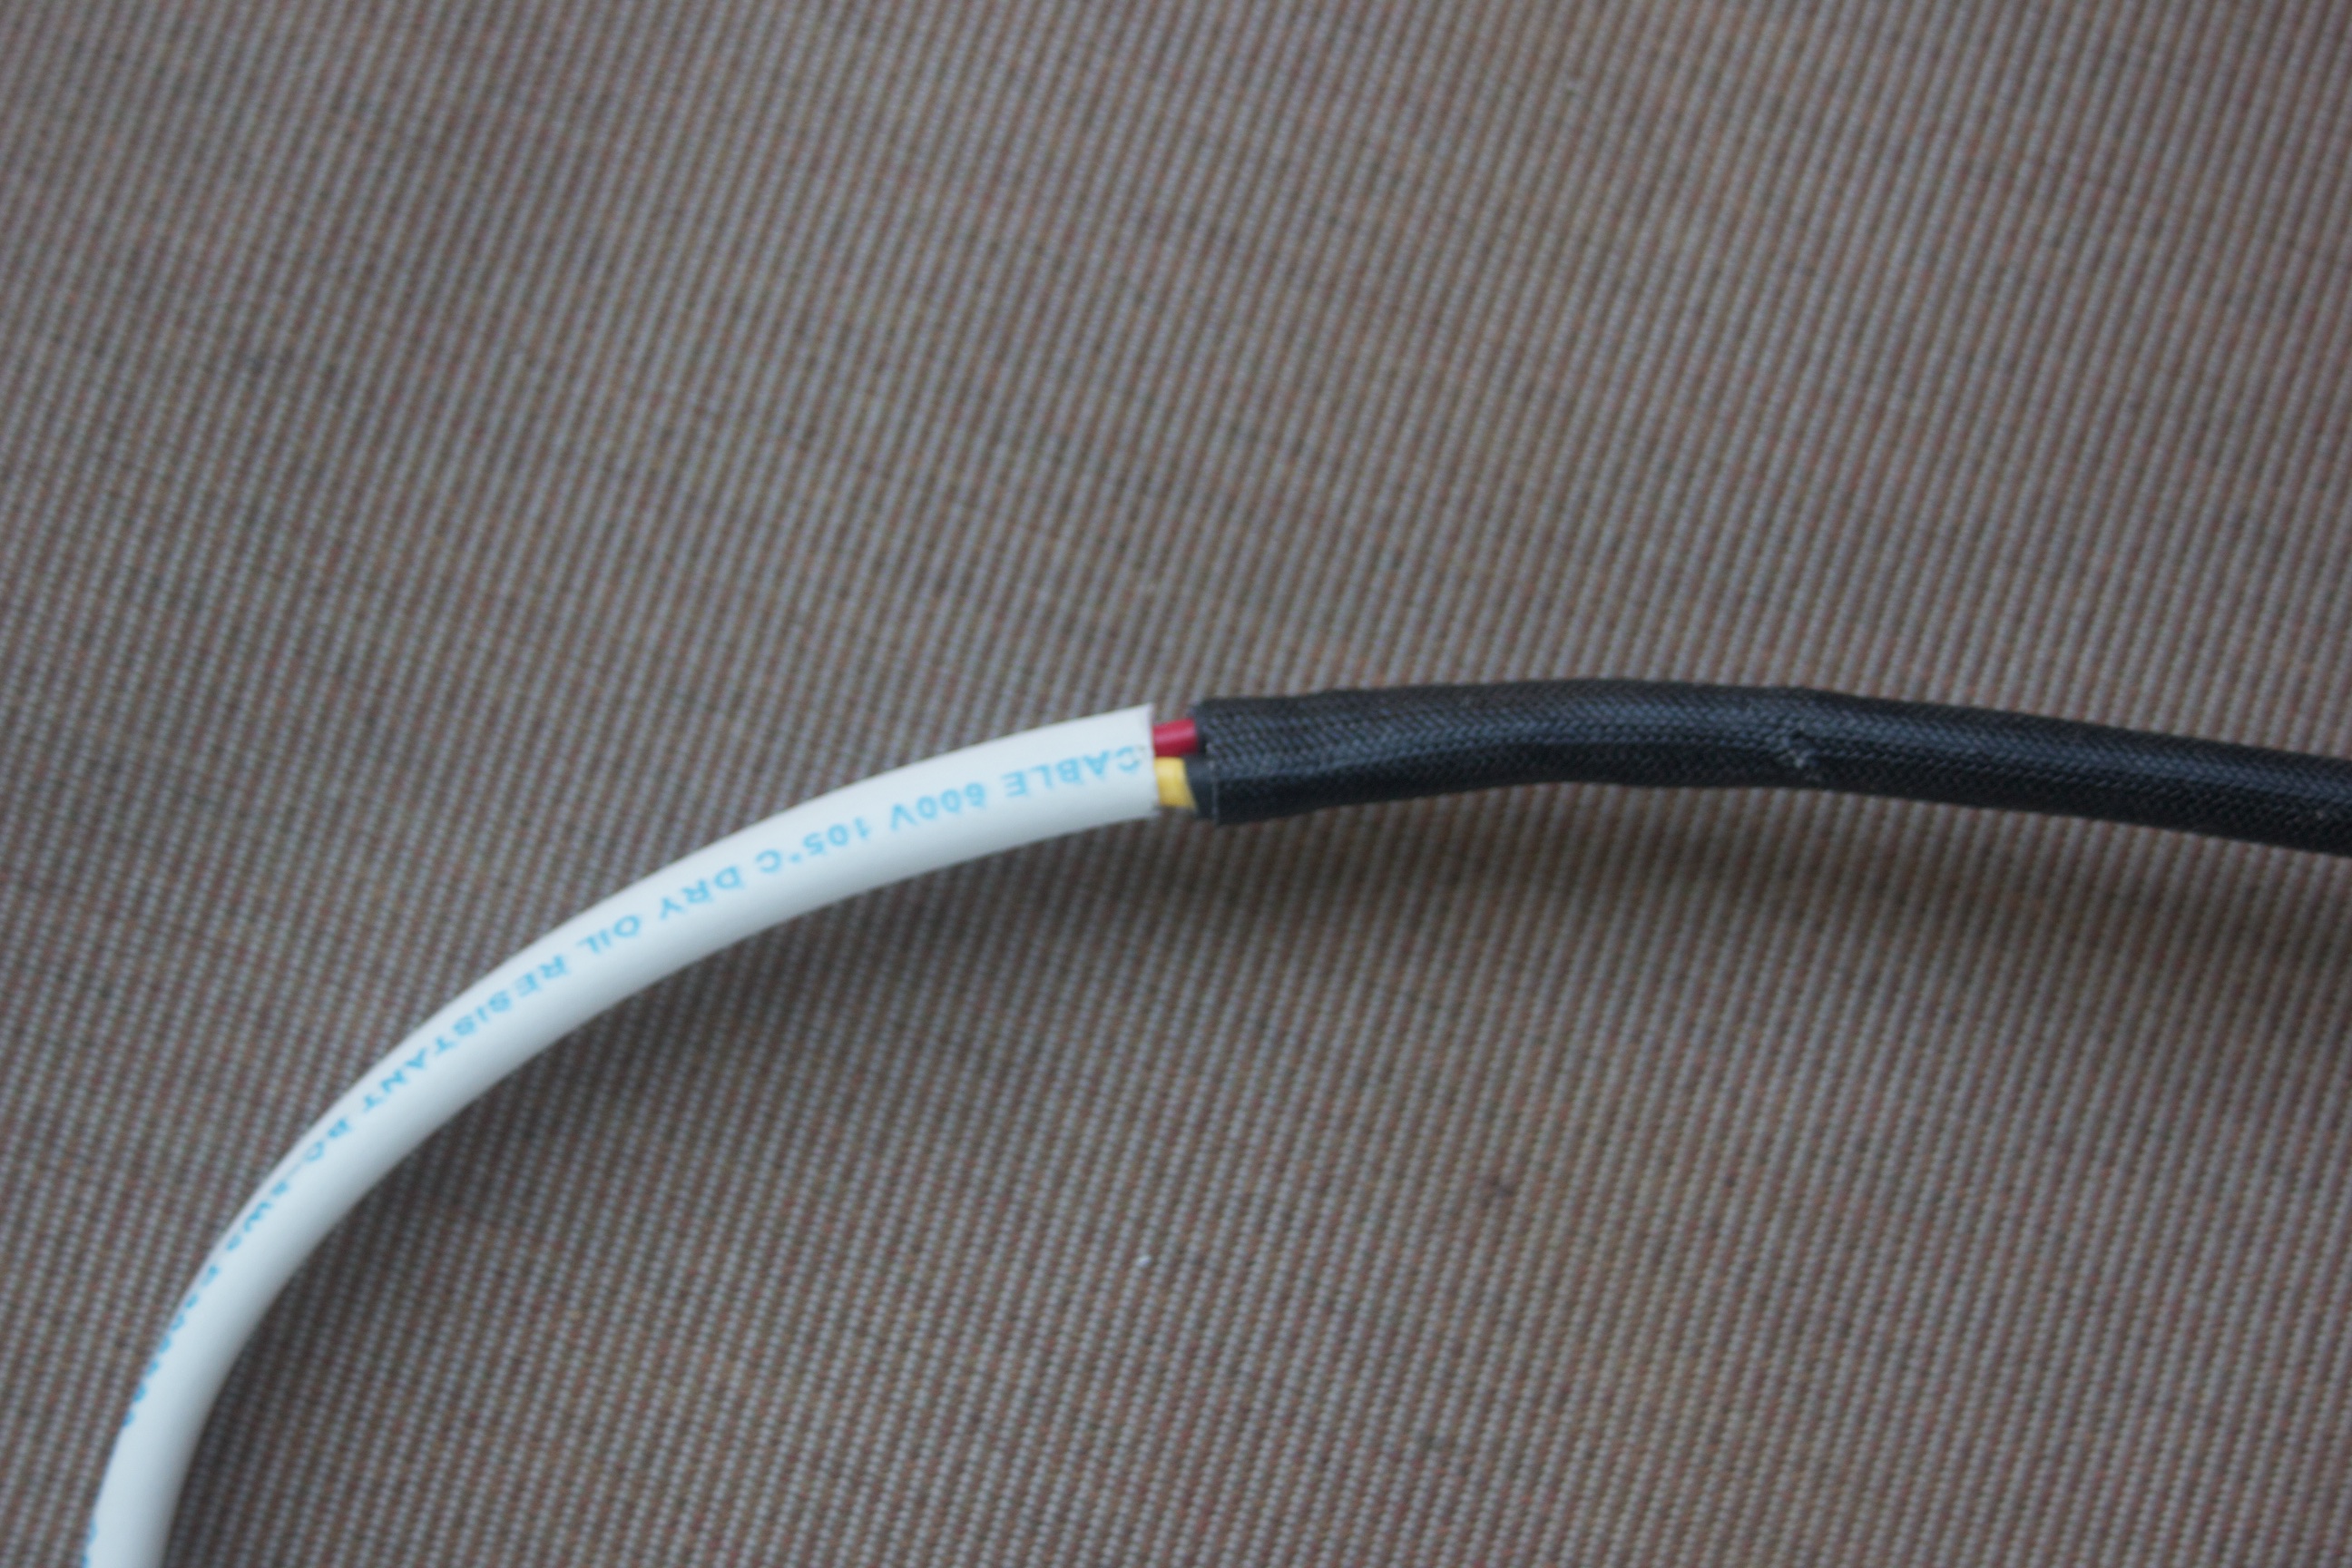

Now connect your duplex wires to the 12 volt DC plug. The positive of the plug is the pin at the bottom. Make sure you connect the positive of the duplex wire to the connector that goes to that pin.
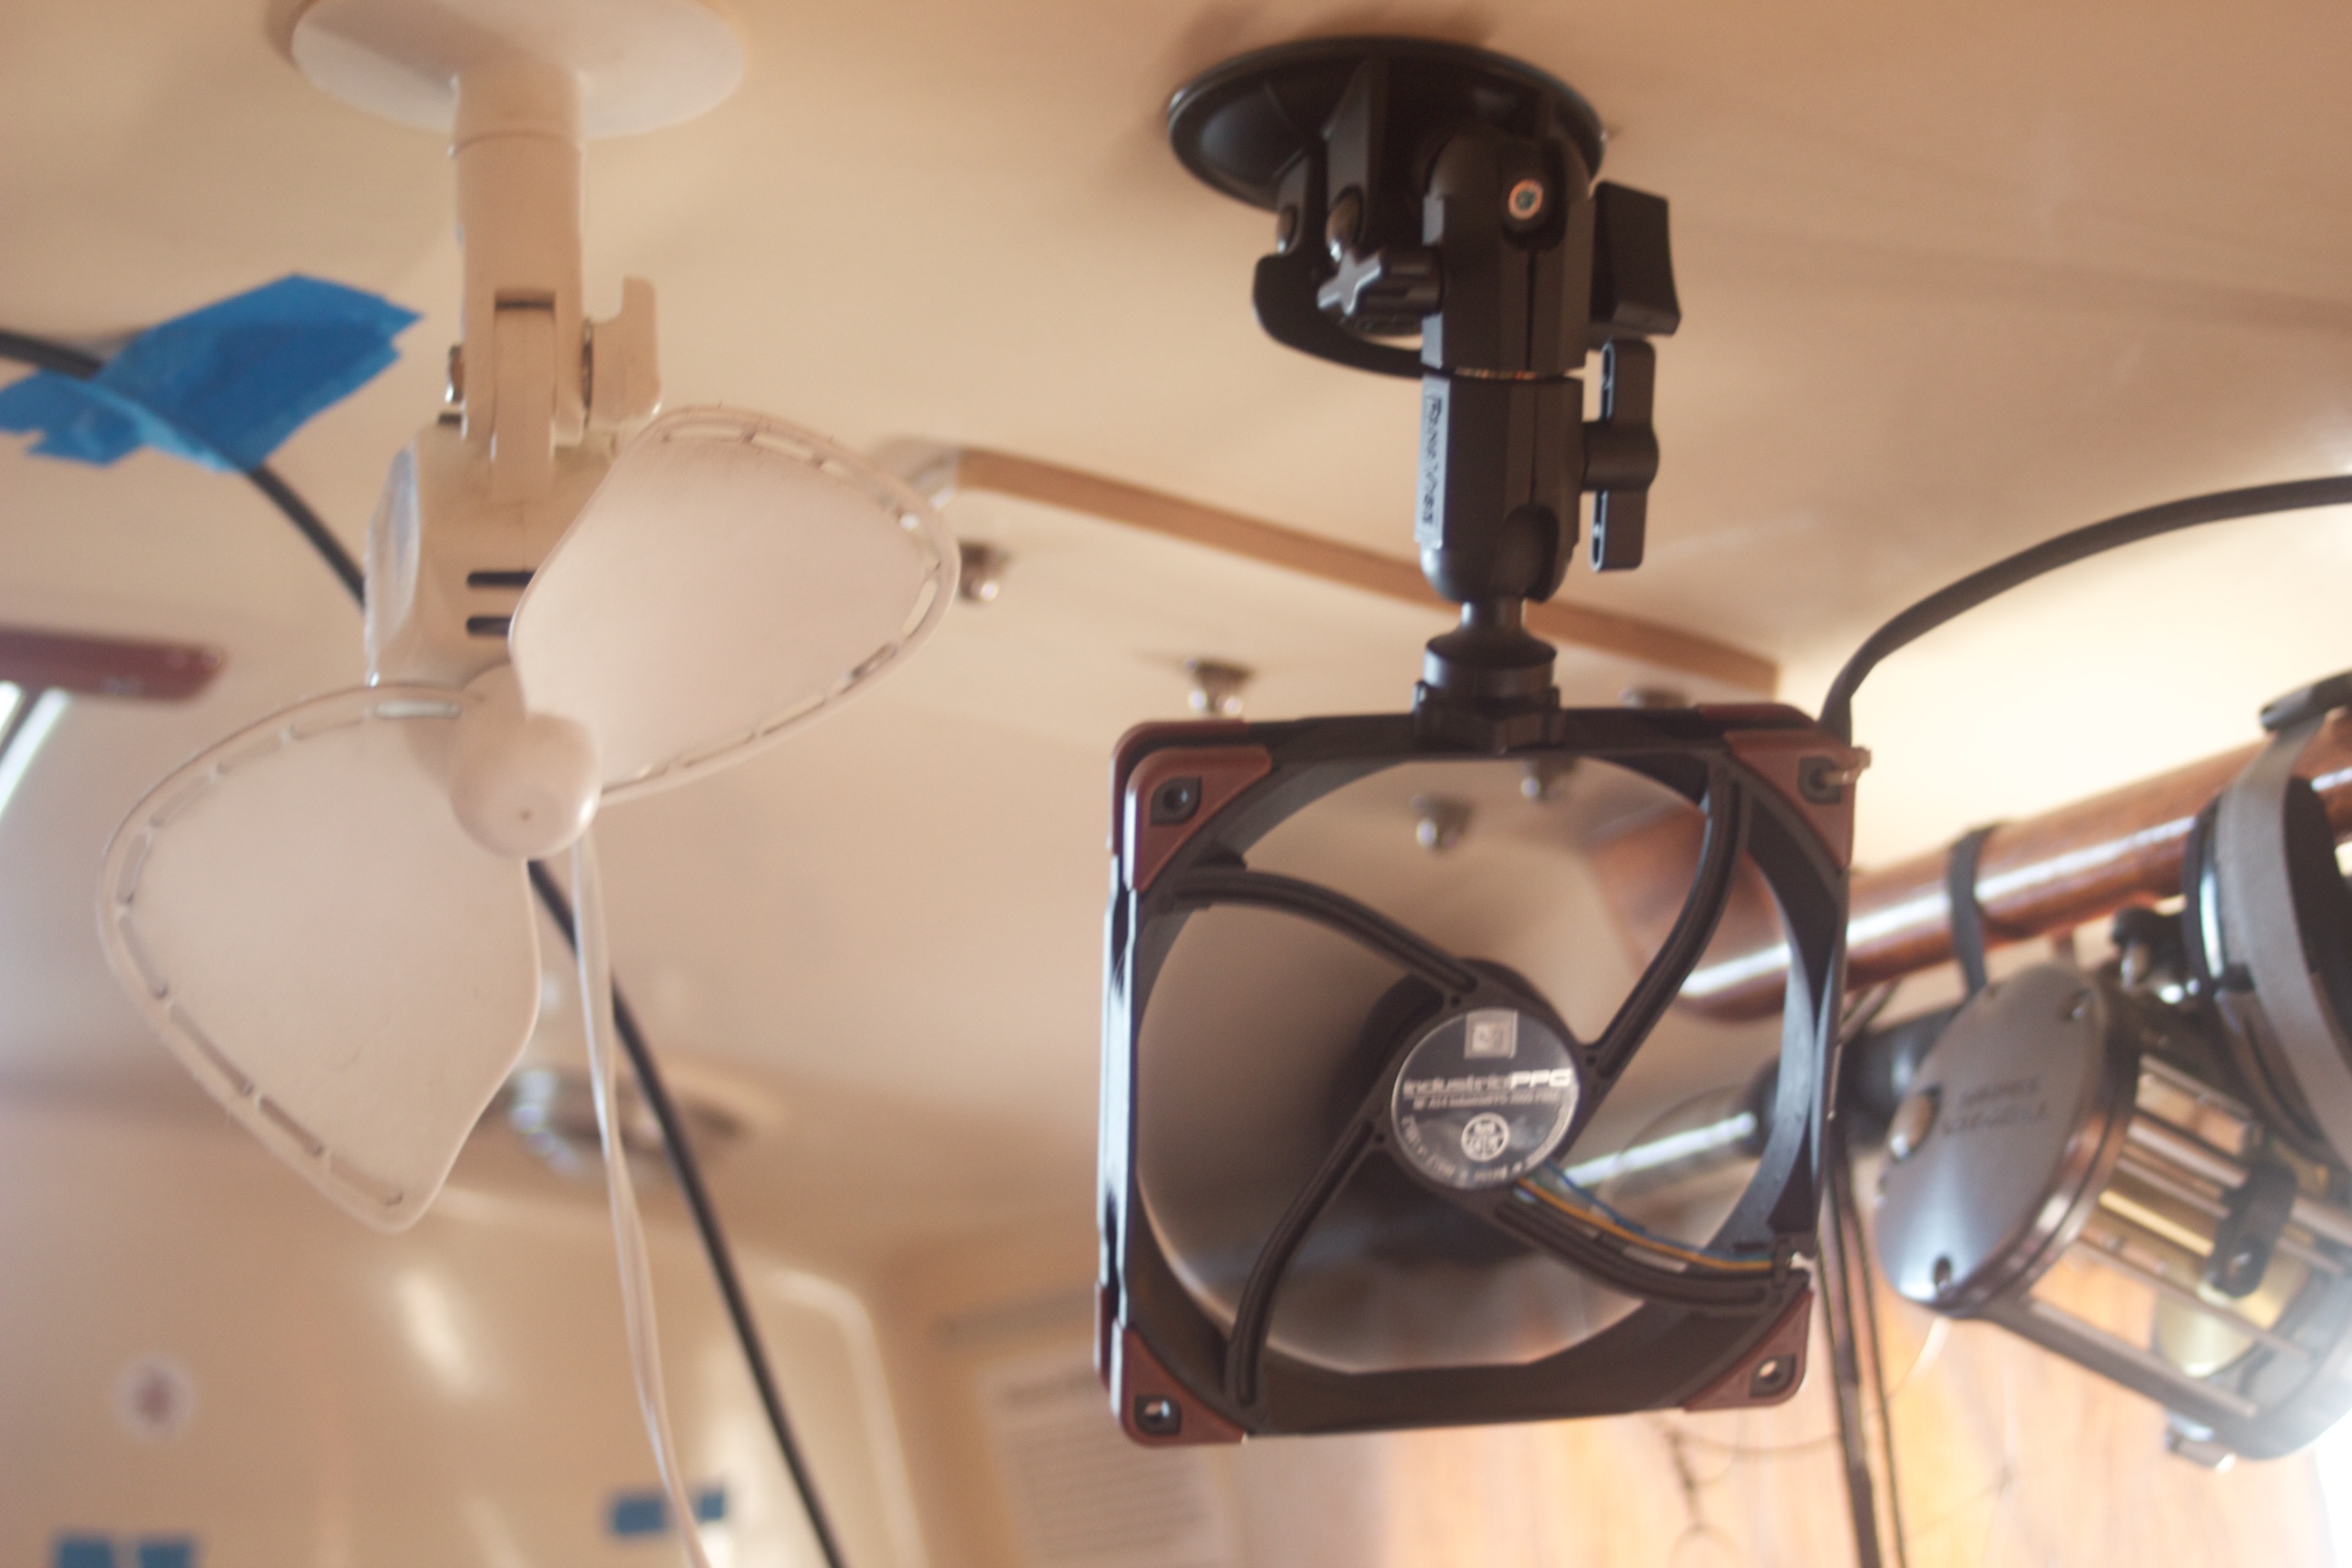
Attach the Panavise mount to the fan frame. USE CAUTION: The screw cannot extend INTO the fan frame or the blades will hit the screw.

Now you have a fan that will last for a good long time. It’s ON/OFF. Plug it in to turn it on and unplug to turn it off. And that Panavise suction cup isn’t going to suddenly loose suction and allow that fan to come careening down on top of your head like the one on the left.
As it was built here, not including anything for time, the cost was $71. Yes, that’s a sight more expensive than the others we bought at the big box marine depot, but those only lasted 6 to 8 months and they were constantly falling off the ceiling. That may have had something to do with the motors burning up, but they do have a thermal cut-off fuse on them. Anyway, these home-made fans articulate much more easily, are a little quieter, pull a bit less power, and the motors are somewhat sealed (IP52). At 150,000 hours mean time between failures, I expect these to last.
One could easily add an off/on switch and/or some guards (look for 140mm wire fan guard) to protect fingers from the fan blades. I’ve had a finger and a toe (don’t ask) get in a fan and it’s uncomfortable, but no blood was drawn nor was any skin lost. I’ve made 2 of the 2000 RPM versions and 1 of the 3000 RPM versions. If you’re a wiz at electronics you could even use the PWM versions, build a speed controller, and have a variable speed fan. We just run all of ours at full speed all the time and they work fine for us.
Good luck.