We have a Raritan PHII Toilet (the one manufactured after 6/92). When we first got Emet, the toilet didn’t work. We called a marine sanitation company to come fix it for us because, frankly, I just had other things to do and I really didn’t want to muck up the toilet and have to pay for a new one. Plus we needed the Y valve replaced and needed someone to show us how to use the toilet. Yes, we didn’t really for sure know how the toilet worked. And if I had “fixed” it, how could I be sure it was working properly if I didn’t know how to properly work it?
Fast forward to today. Recently, the air valve that is installed in the side of the pump assembly and allows the pump to draw in air and prevent water from leaking out, started leaking water out. It wasn’t a really big problem. We adapted and learned that we needed to always pump once on dry after pumping on wet to make sure that the small chamber behind the air valve was free of water and that the pump was not “pressurized” with water. This ensured that it did not leak . . . mostly.
I figured I would probably have to replace it. $10 or $15 is what I figured this piece of plastic (part 1203W) was worth. I went on-line and . . . $40?!?!?! WHAT?!?! Seriously? I should be able to fix it.
I took the valve out and did my best to clean it with a q-tip and some rubbing alcohol. The water here is not the cleanest and there was some gunk in it that I was sure was causing it to leak. This helped a bit, but it still leaked occasionally. I tried putting some o-ring lube (much like Super Lube) in it and that appeared to quell the leak until it suddenly became worse after a couple of weeks. I took the valve out and found that the o-ring lube had “gunked” up. I cleaned it up again with some rubbing alcohol and it still leaked and pretty soon it not only leaked but trying to pump on dry became next to impossible as the stupid little valve wouldn’t let any air in. How is that possible? It lets water OUT, but it doesn’t let air IN?
I accepted at this point that I was going to have to replace this little bugger, but I was going to really disassemble and clean it first.
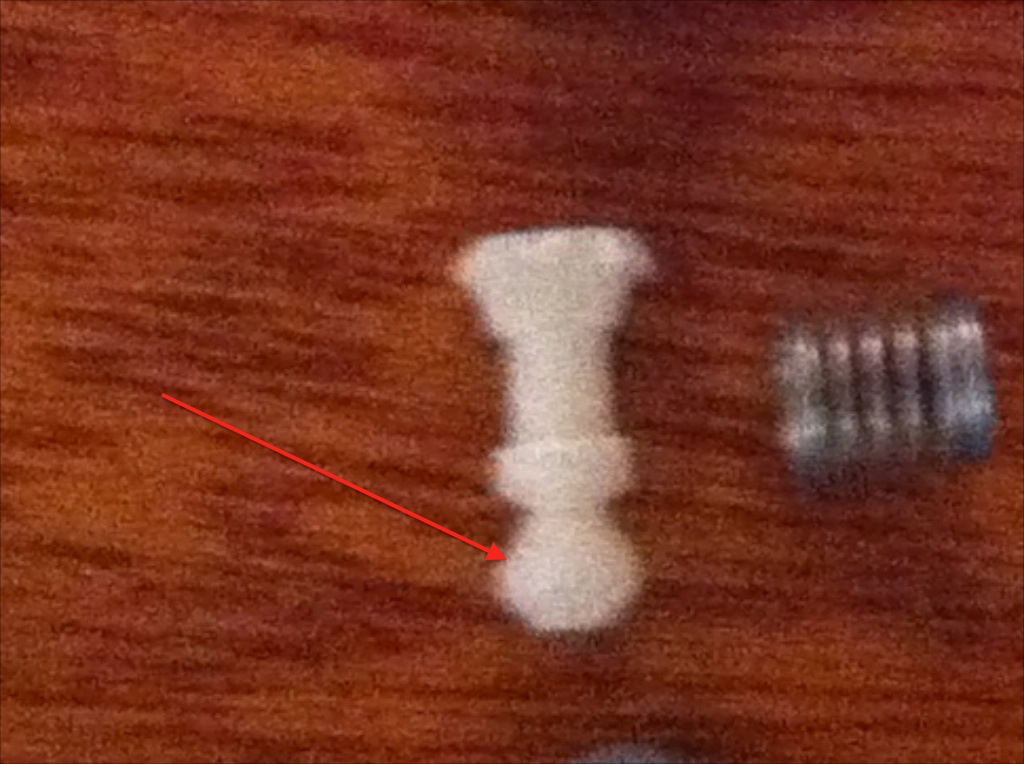
It came apart quite easily and is a simple check valve. The first thing I did was take a picture of the parts laid out in the order that they came out.
I cleaned it all up and went to put it back together and for some reason, it just did not go back together like I thought it should. I went ahead and put it back in the pump assembly and . . . no joy. It would NOT pump on dry. I knew that the air valve was not letting any air in and was acting as a shutoff valve at this point.
I took it out and disassembled it again. Wiped it all down with a dry towel. Put it back together and again it just didn’t go together as easily as it should have.
I figured that I was putting something in backwards, though that seemed next to impossible as the thing is pretty simple. I looked at the pic that was taken and how did that happen? The little nip at the end of the plastic piston piece holding the internal sealing o-ring was broken off. No wonder it didn’t go together like it was supposed to.
Well, looks like I just spent $40, but first I have to get the toilet functioning again. I was able to use the dual o-ring sleeve and some gorilla tape to fashion a sort of check valve so that the toilet was usable again. I put 2 small pieces of tape over the end towards the outside of the valve and then used a pin to poke 4 holes in it. Probably wasn’t completely necessary as all one had to do when using the toilet on dry was use a thumb to seal the valve inlet hole on the upstroke and then remove said thumb on the down stroke. This was still somewhat required with the redneck repaired version of the air valve because if you didn’t put your thumb over the valve on the upstroke you got a stream of water squirting out of the center of the valve.
I went on line and did some shopping and found the valve available for just a little over $20. I ordered 2. Put a new one in and, miraculously, the toilet functions now without the need of a thumb.


