
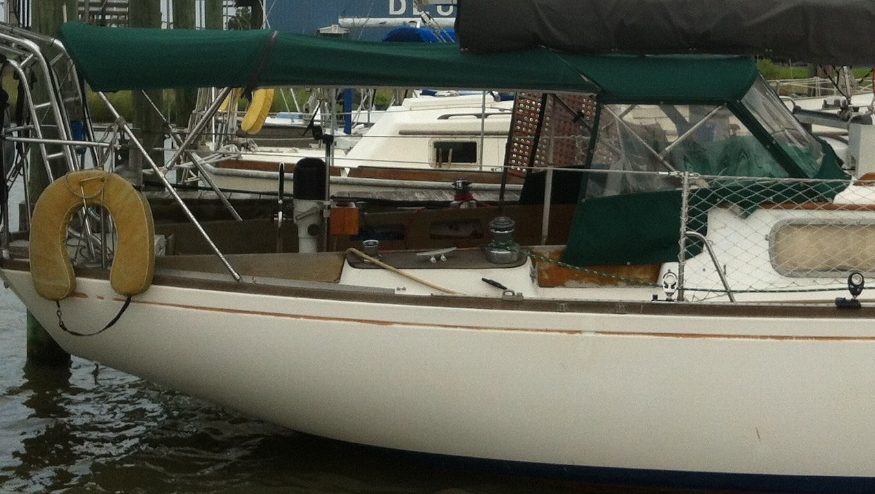
Emet has a dodger and bimini albeit not in the color (green) that Jodi would have chosen, but they are there and serviceable. Truth be known, I don’t like the color either. The dodger is in pretty good shape. The bimini has been repaired by us at least a dozen times. The sewing job on the bimini is less than adequate. Whoever did it simply cut the Sunbrella and then sewed up the seams with the cuts left exposed. Needless to say, the fabric began fraying and eventually frayed right through the stitch. Or in obvious stress points, no reinforcing stitching was done and the stitches simply tore out.
The second issue with the bimini was that it had a weird slope from bow to stern. From the dodger, the bimini sloped DOWN as it went to the back of the boat. I’m 6’1″ and this meant that with bimini up I had to hunch over at the wheel while sitting and there was NO way I could stand. Uncomfortable to say the least.
I had originally wanted to get a WHOLE new bimini and dodger in the right color (charcoal gray or navy). Here’s kind of what I had envisioned.
But, that is pretty expensive and there are much better ways to spend that money. Plus, we’re supposed to be salty sailors and self sufficient, so afixin’ I went.
The first thing to do was to raise the stern end of the bimini to make it more or less level across the top. I had looked at making a whole new hoop using 1″ stainless tube. That was going to be a couple hundred dollars all by itself. So, I then thought about what I could to do to modify the hoop that I already had. I came up with attaching a length of 1″ tube (with an ID of 0.870″) to the bottom of each end of the hoop. I could do this by inserting and securing a 6″ piece of 0.840 pipe inside the two pieces. West System epoxy was used as the glue to hold them together.
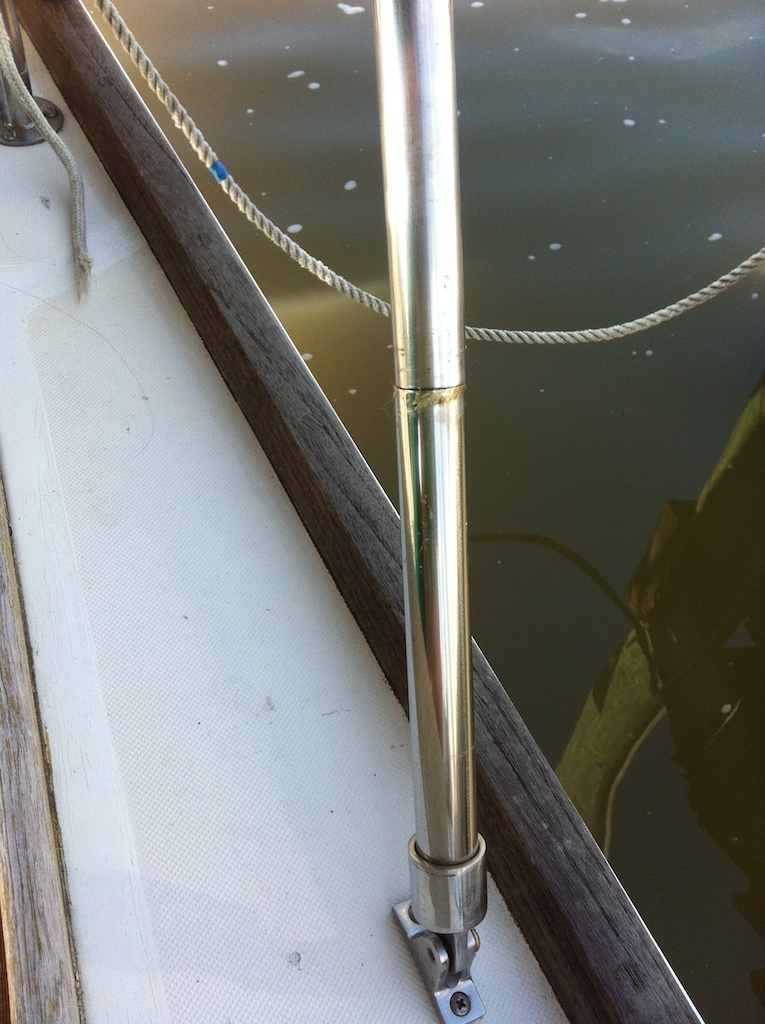
That did a nice job and the total materials cost with shipping was about $30.
This also necessitated purchasing several additional zippers and a few replacement zippers. The bimini by the back stay originally went in front of the back stay and had a sewn loop in the Sunbrella and the hoop was simply fed through it. I ripped the loop out and sewed in two zippers since we now have the hoop behind the back stay and the Bimini needed to be slit about 6 inches to allow for the back stay to be fed through the top.
I also used some scrap/sample Sundbrella that we got from the local sail maker when we had our new main and sail cover made to patch up and reinforce some tears in the top. You can see, too, that the zipper attaching the dodger to the bimini is half old and half new. The half on the bimini had failed and we simply purchased a new one and sewed the needed half onto the bimini.

This is what we have so far.
All the sewing has been done by hand. I used Bish’s Tear Mender to fix and hold pieces in place so that we could sew them. It worked pretty good.
We still need to do some adjustments to make the bimini fit a little better and add a window so that we can see the windex at the top of the mast, but it’s worlds nicer than what was there originally and it hasn’t cost us more than $50 and a whole bunch of time to get it there.
[…] done is completely replace all the Sunbrella and frame. We’ve replaced zippers, extended the rear of it up so that it no longer slopes down at the rear, and done numerous other quick […]